Religious Education made easy with Flocknote!
You've asked, and we listened! With Flocknote's new RE Setup, we've made preparing for Religious Education easier than ever. We'll set up your groups, registration forms, student info, pricing, and attendance tracking in just a few clicks. RElax — we'll handle everything!
This Religious Education setup is now available for parishes with Flocknote Complete. Still on Flocknote Starter? Click HERE to learn more or reach out to our team to upgrade to our all-in-one solution!
👀 Curious what a completed Religious Education flow looks like for your members? Take a peek at this video to see someone sign up in real time: 📽️ Click here
Getting Started
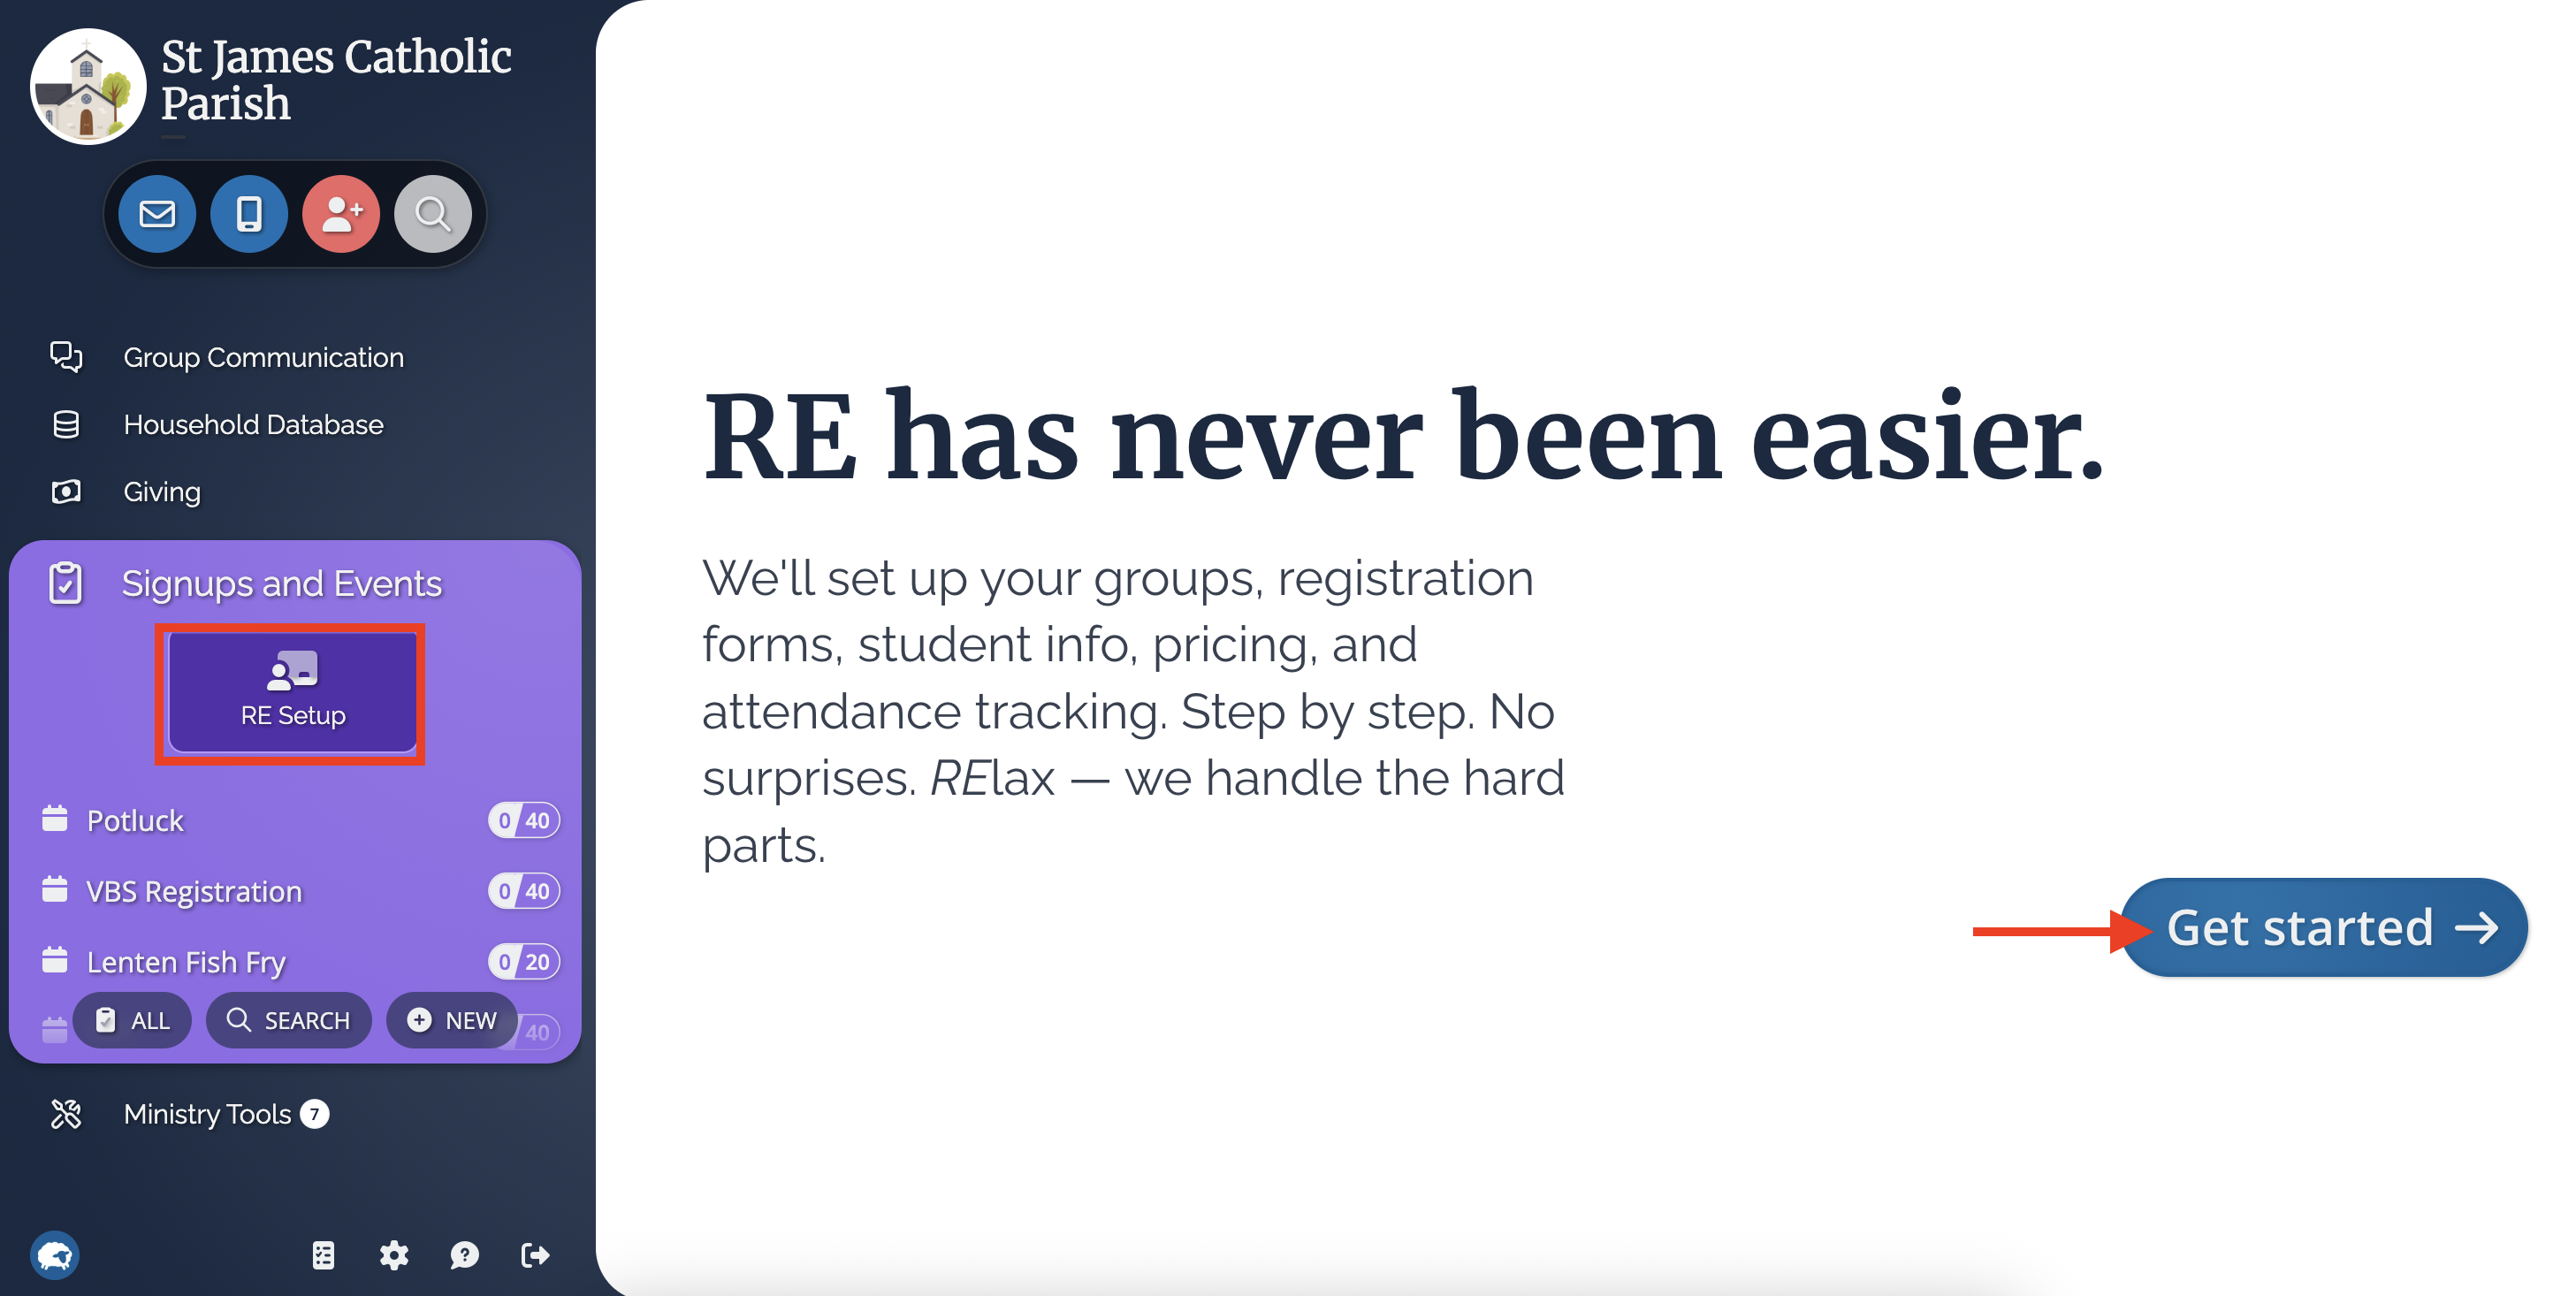
On the Left-hand side panel, select the Signups and Events option. Then, Select RE Setup and Get Started. We'll save your work automatically as you go. 👍
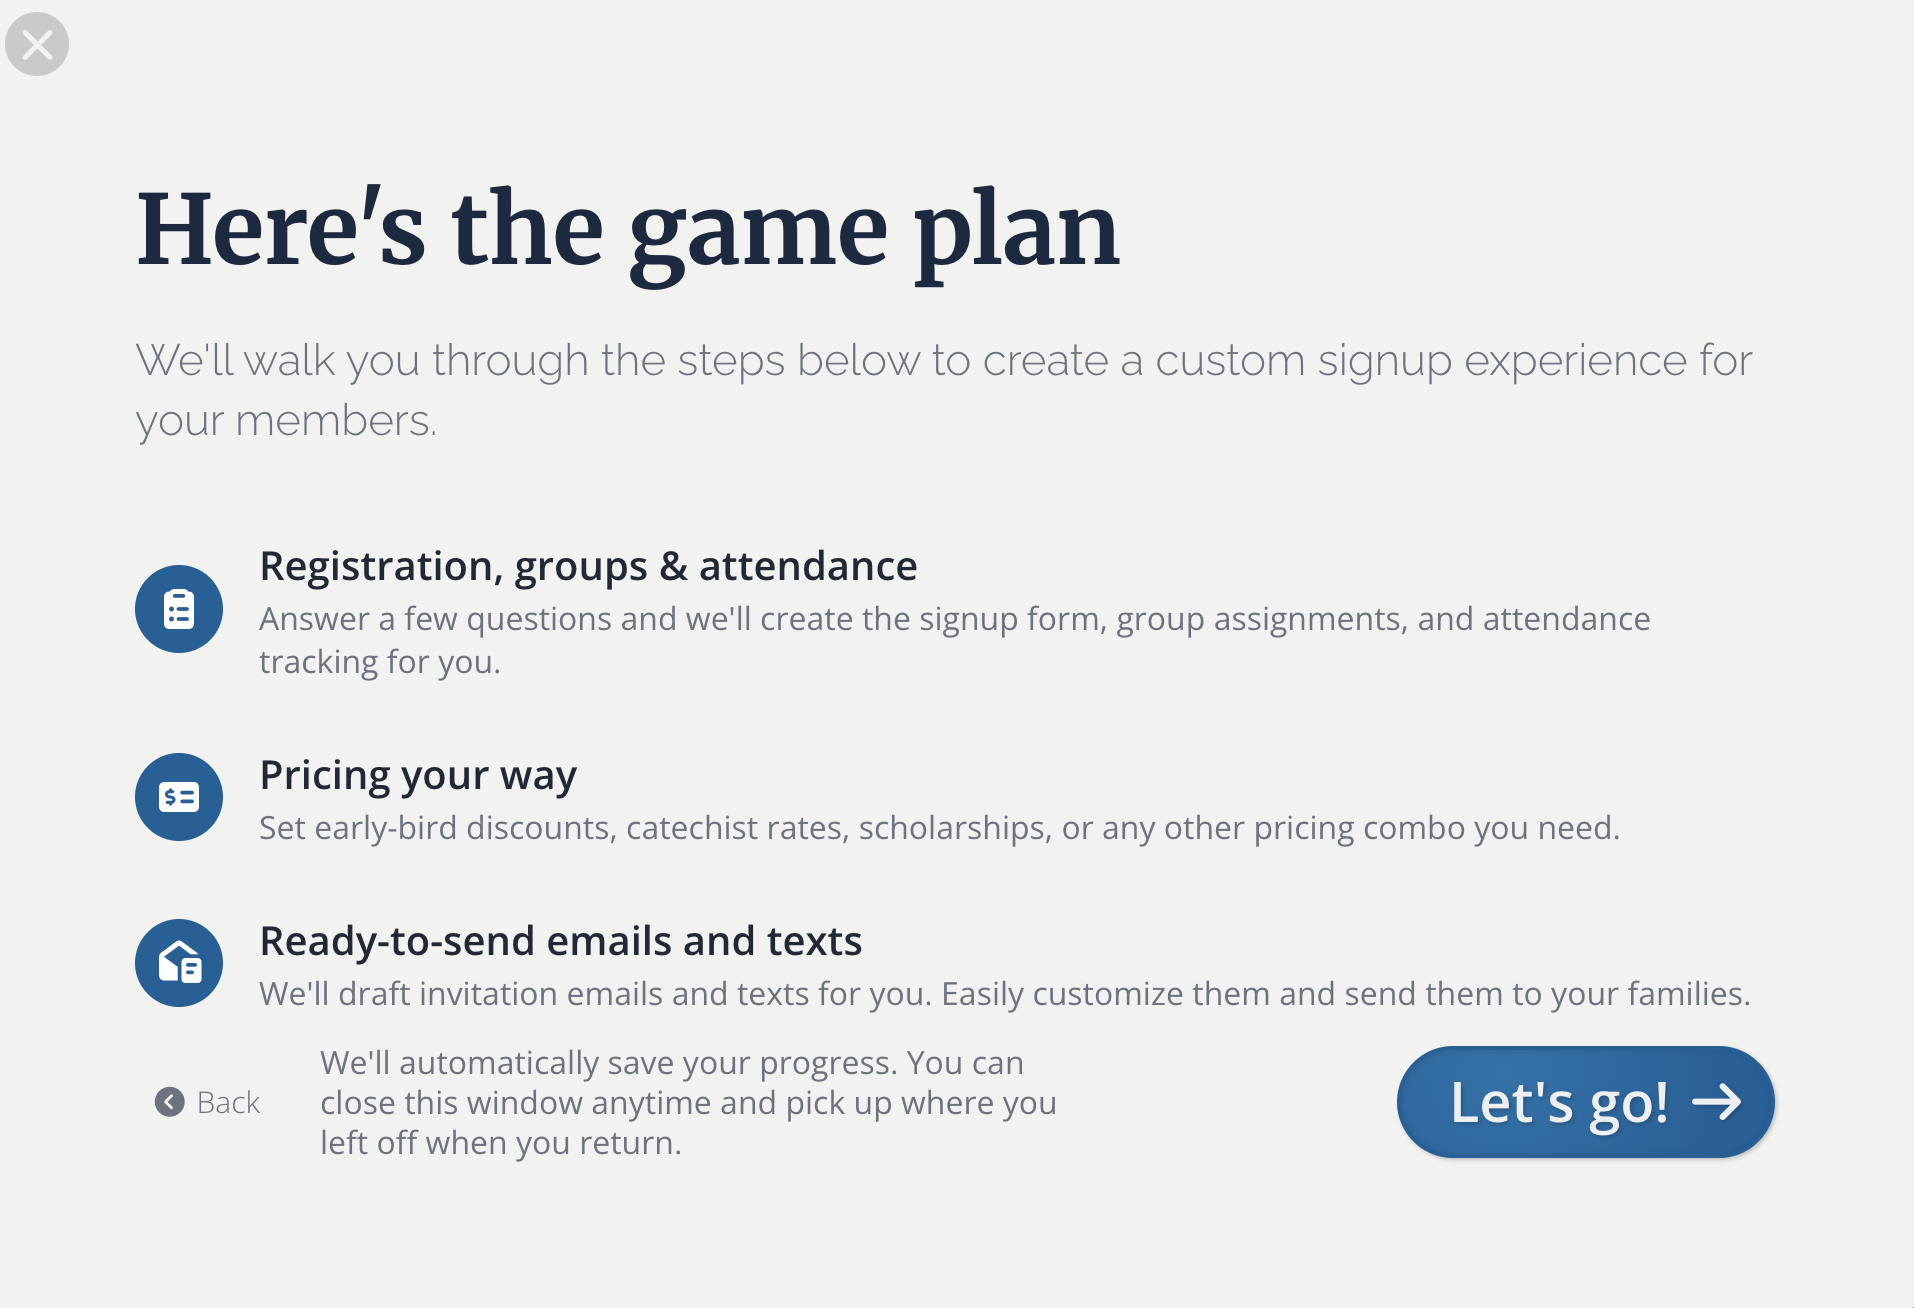
First, let's talk about the game plan! On this page, you'll see a bite-sized summary of each step of the setup process. Give this page a quick read through and then select, Let's go!
Program Info (aka name your Registration Flow)
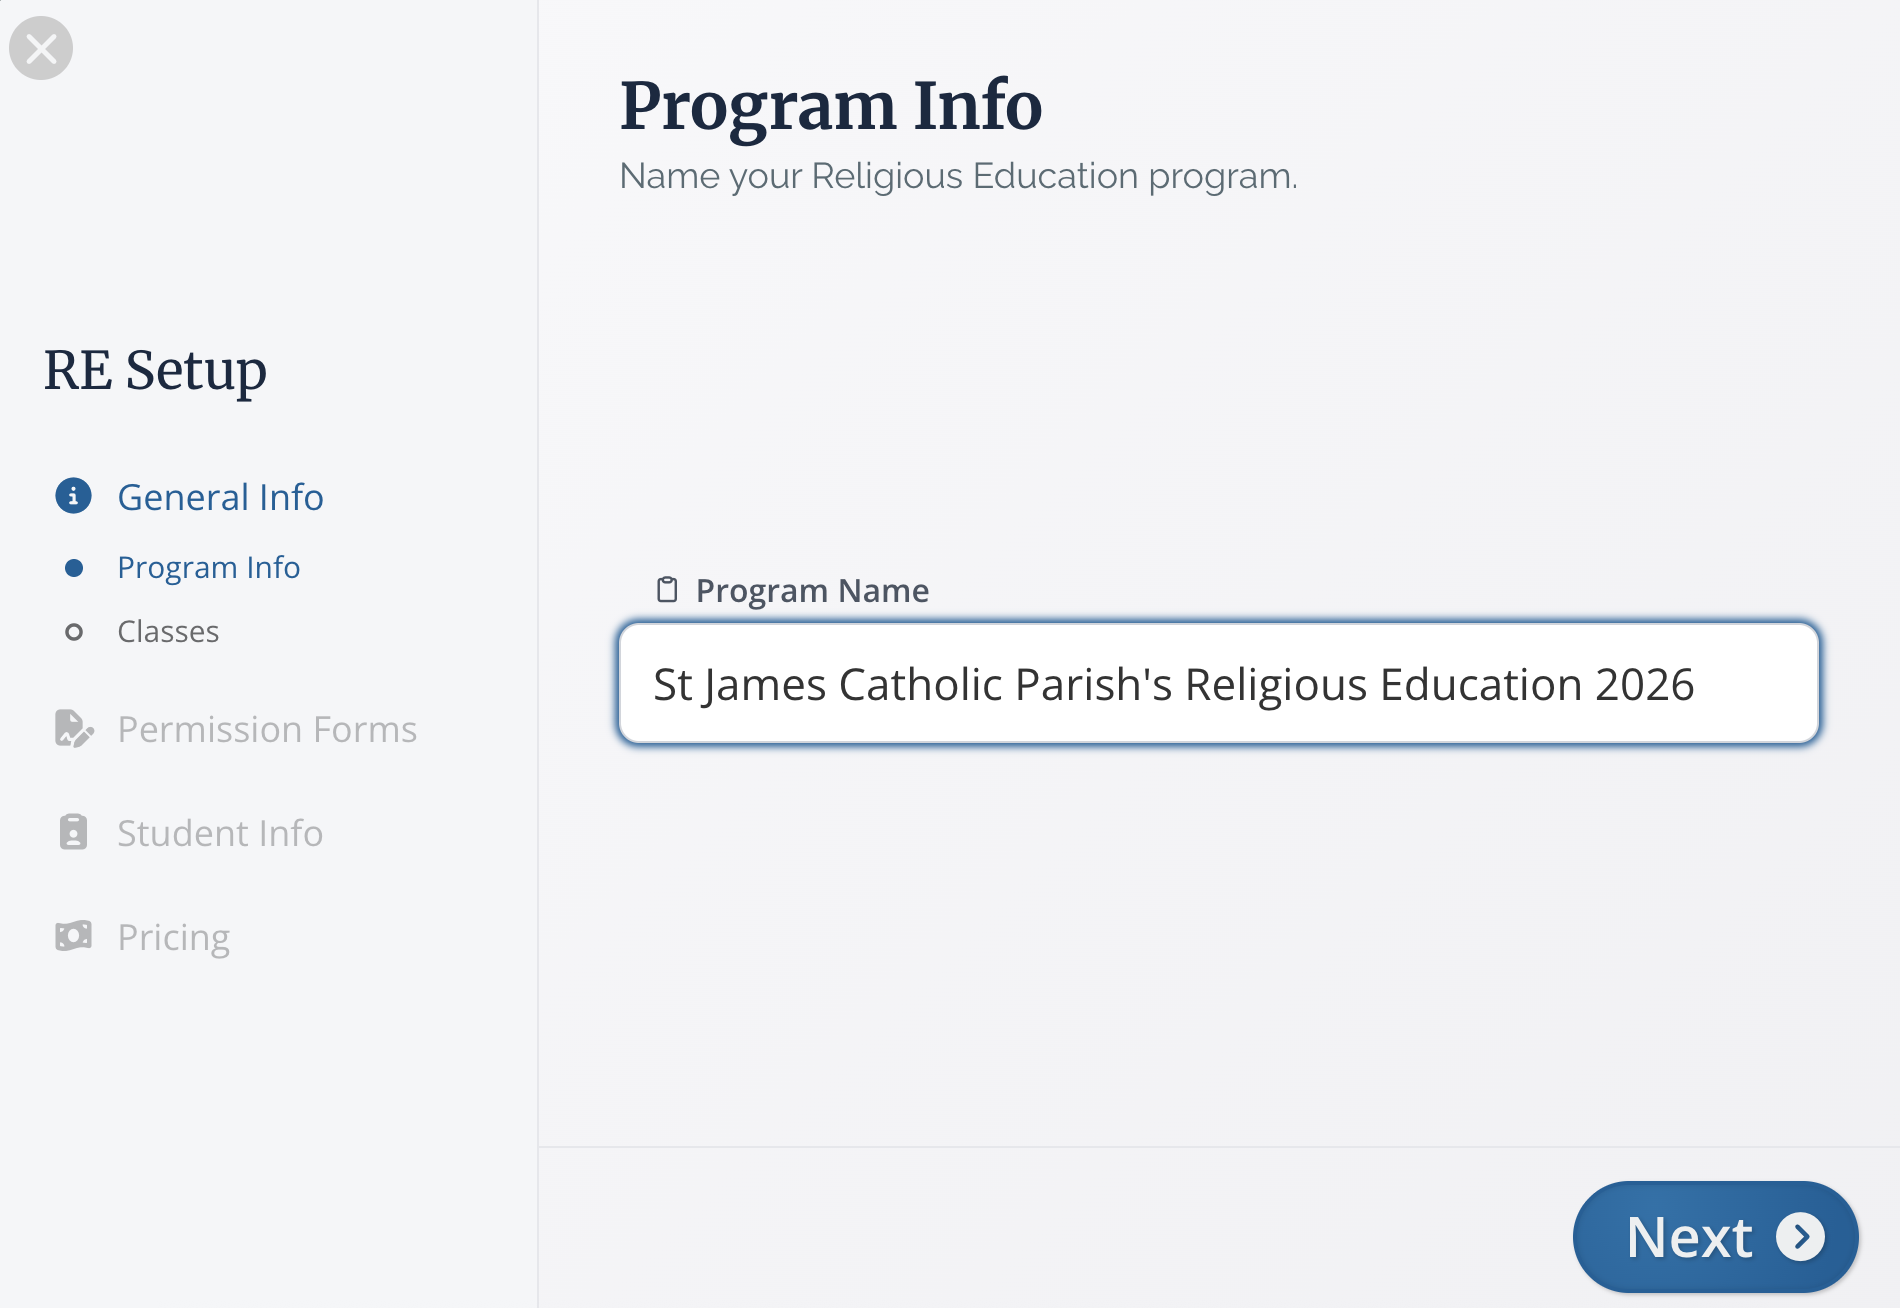
Get the ball rolling by choosing a name for your program's registration. As a default, we'll include your Flocknote network's name + Religious Education + the year. If you'd like to name your Registration something else, click into the text box and update the title. Once you have the title to your liking, select Next to move to the next step.
Classes
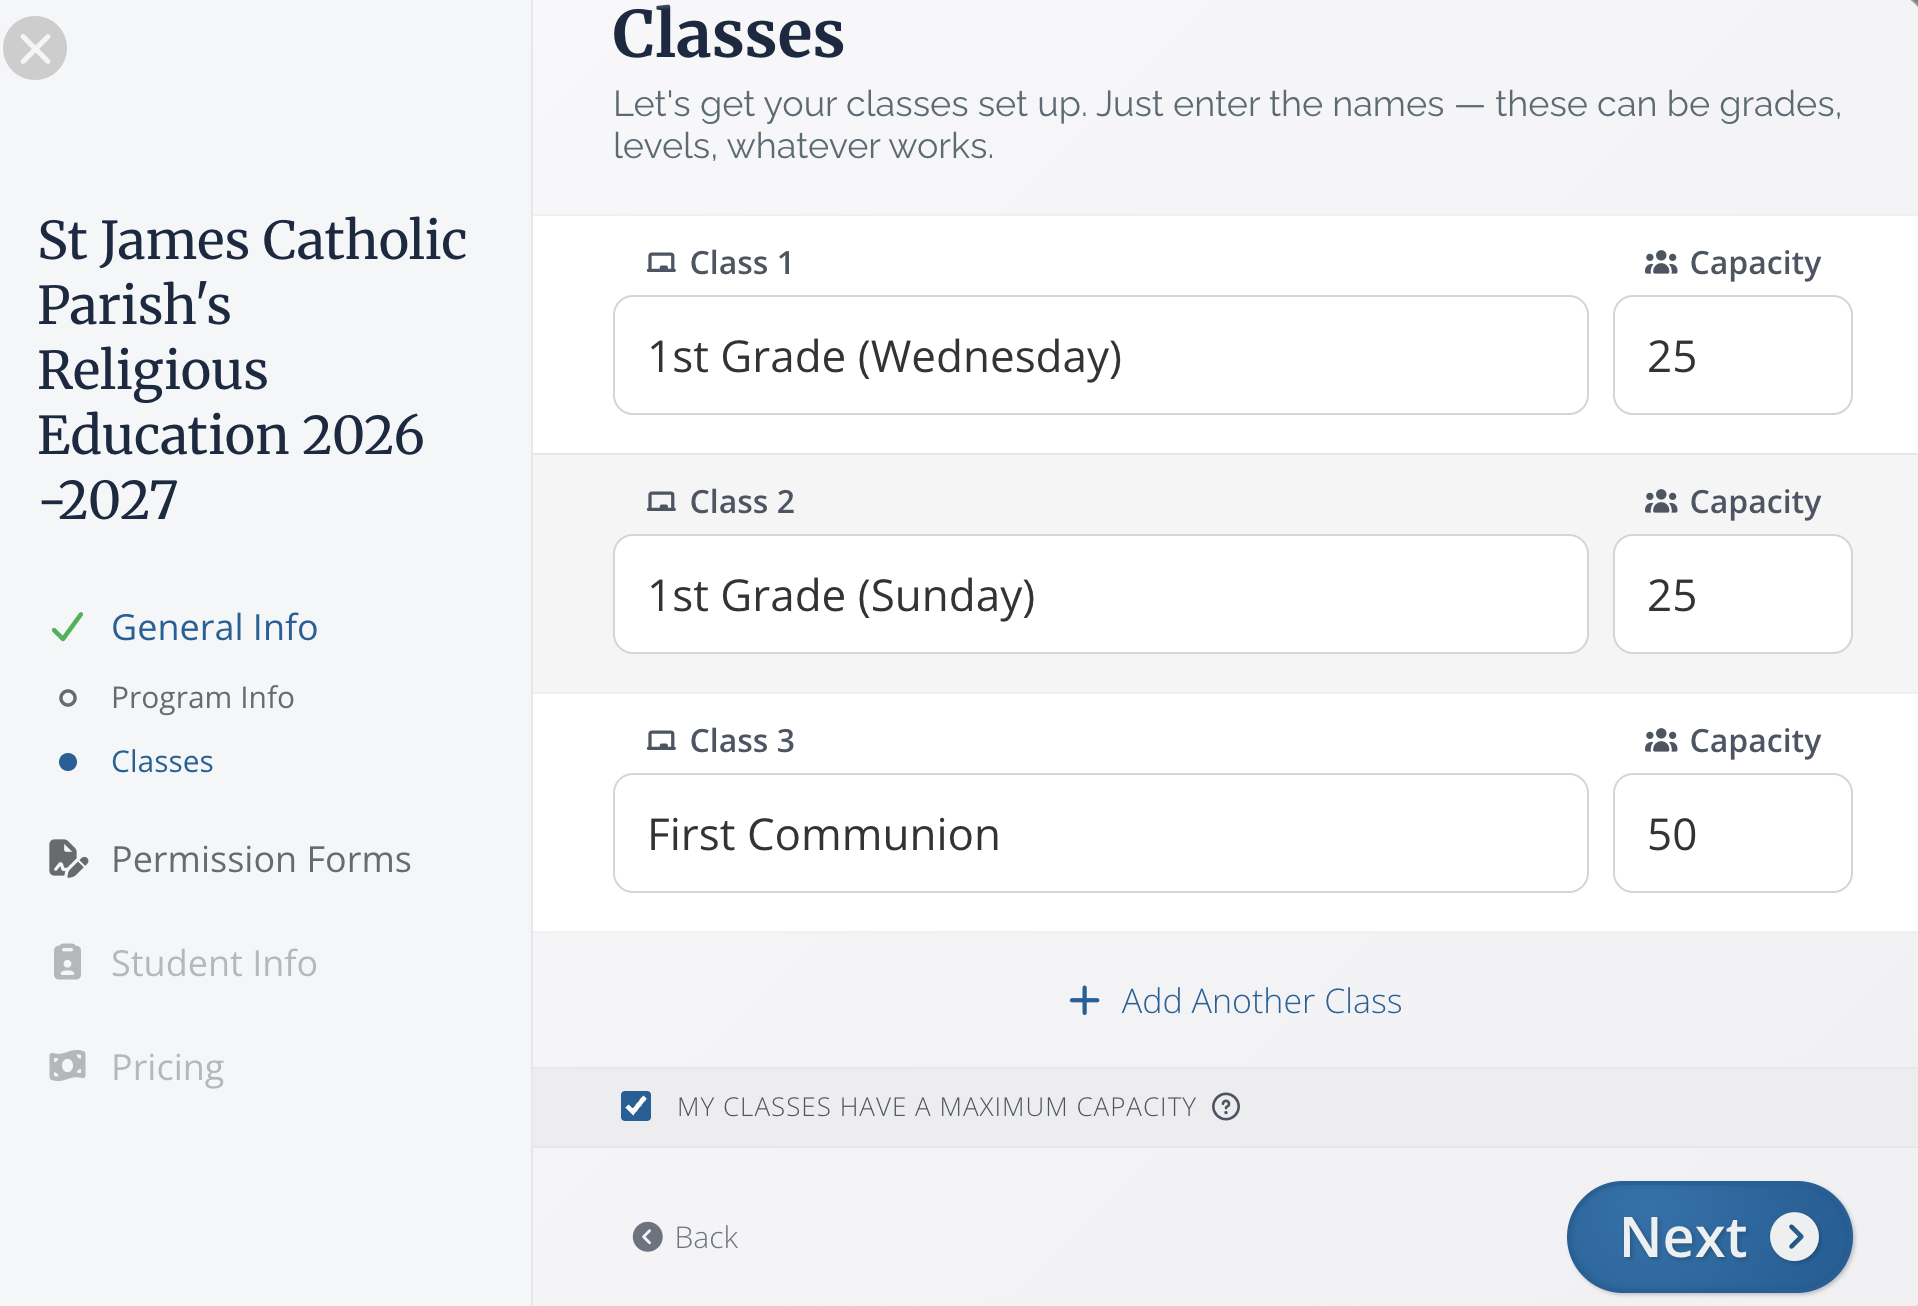
We know that every Religious Education program has its own unique class setup. Here you can add all the classes you need. There are a few class boxes provided for you to fill out. Click + Add another class to add as many class options as you'd like.
You can include both grade classes (1st, 2nd, 3rd, etc.) as well as other classes such as First Communion, Confirmation, youth group, etc. If you have various time options available, be sure to include those here as well. (See example below.)
To reorder your class list, hover over the class you would like to move and then click and hold the 6 dots on the right-hand side to drag and drop the class into the correct place. You will also find a trash can on the right side to remove a class if needed.
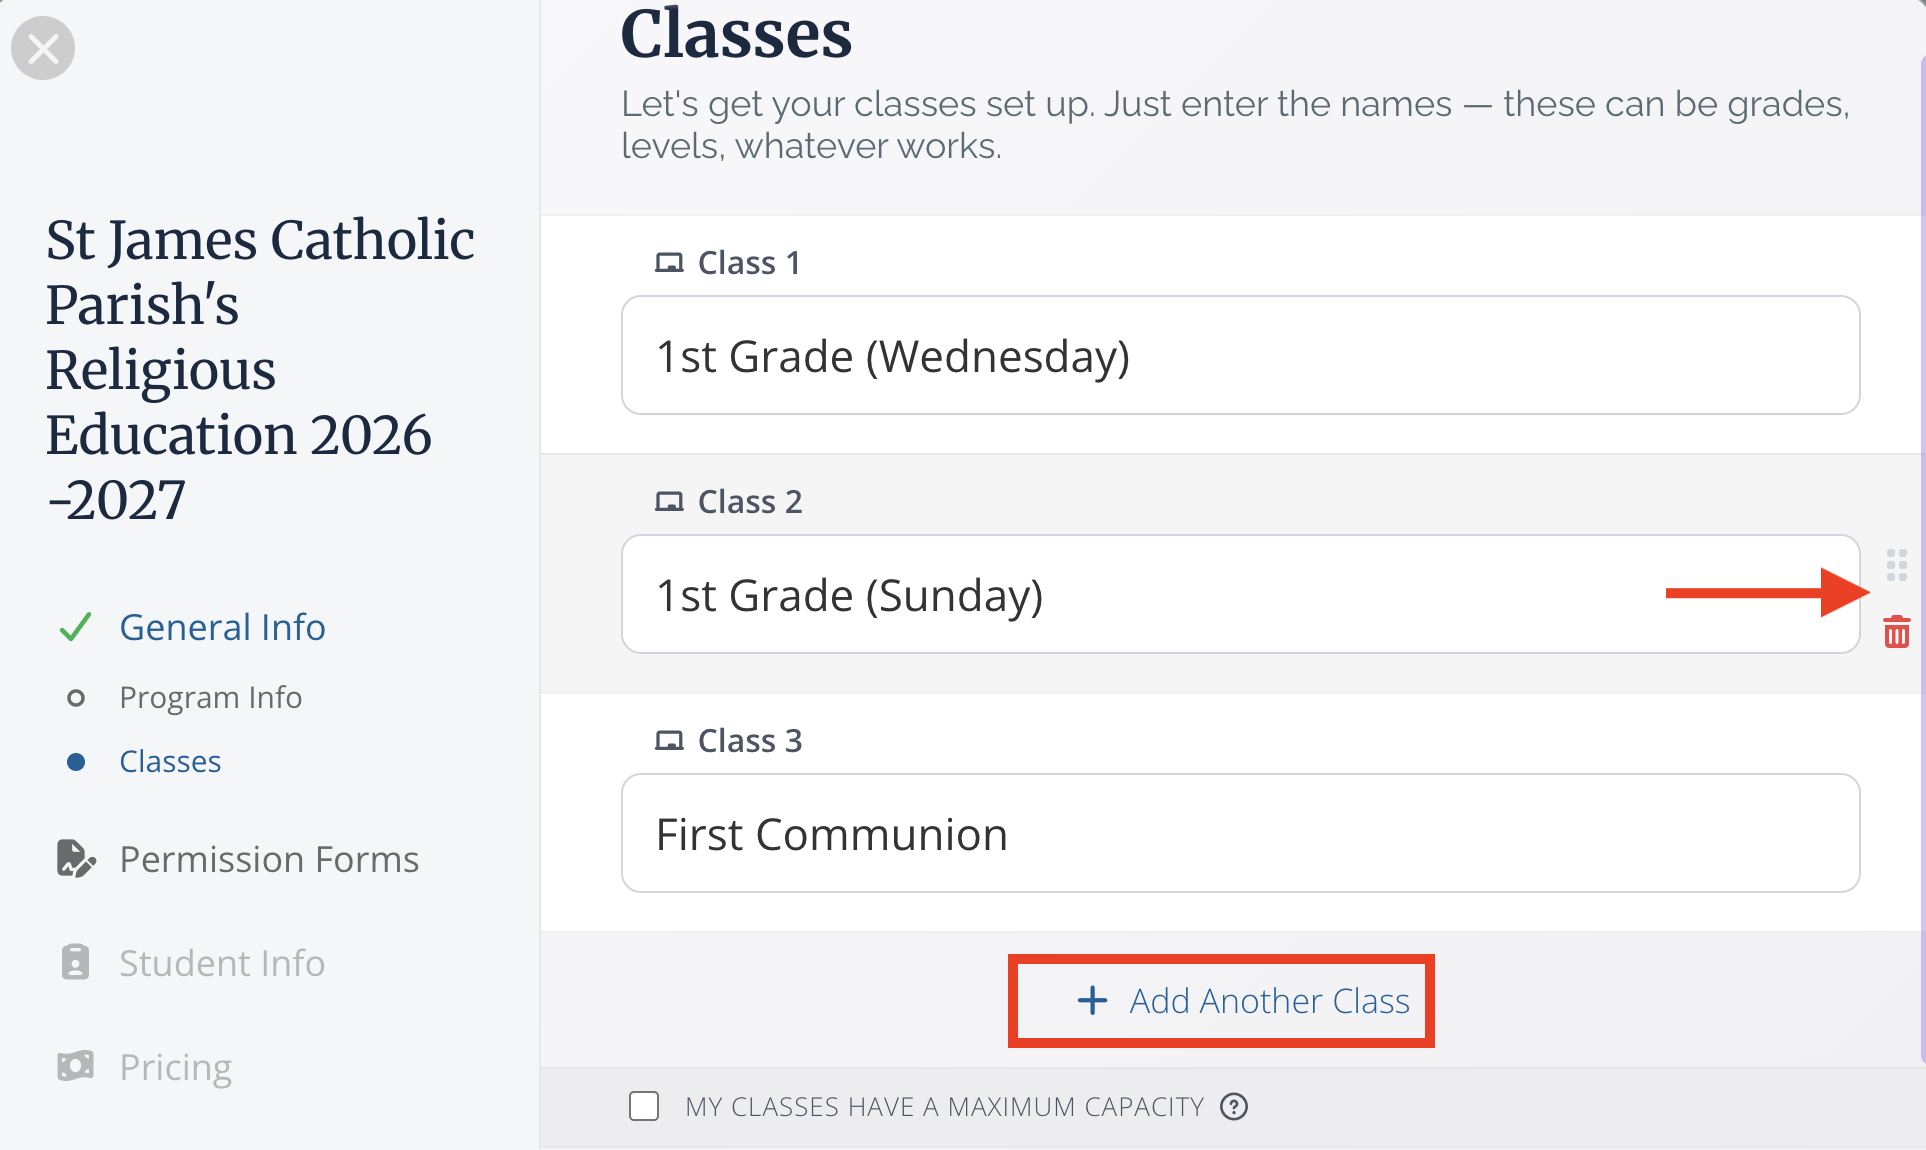
Have limited space or a maximum class size? Click the My classes have a maximum capacity box at the bottom of this screen to add a class size limit. We have the default set as 20 students per class, but feel free to click into each class's box to adjust that number as needed. In this case, my grade level classes have a capacity of 25, but my Sacrament classes can have quite a few more students, so I set the max at 50. Once your classes are finished, click Next.
General Release
Gathering permission slips for RE has always been a pain. In Flocknote's RE setup, we make it easy to include all your permission slips in one place! No more hunting down parents for missing forms, no more cluttered papers– just one easy-to-use online Signup!
In this section, if you have permission or medical release language you want to use, add it here. Your members will see the release info you add and be asked for their consent during their signup. (We have a separate section for a photo release, so you don't need to include that on this page)
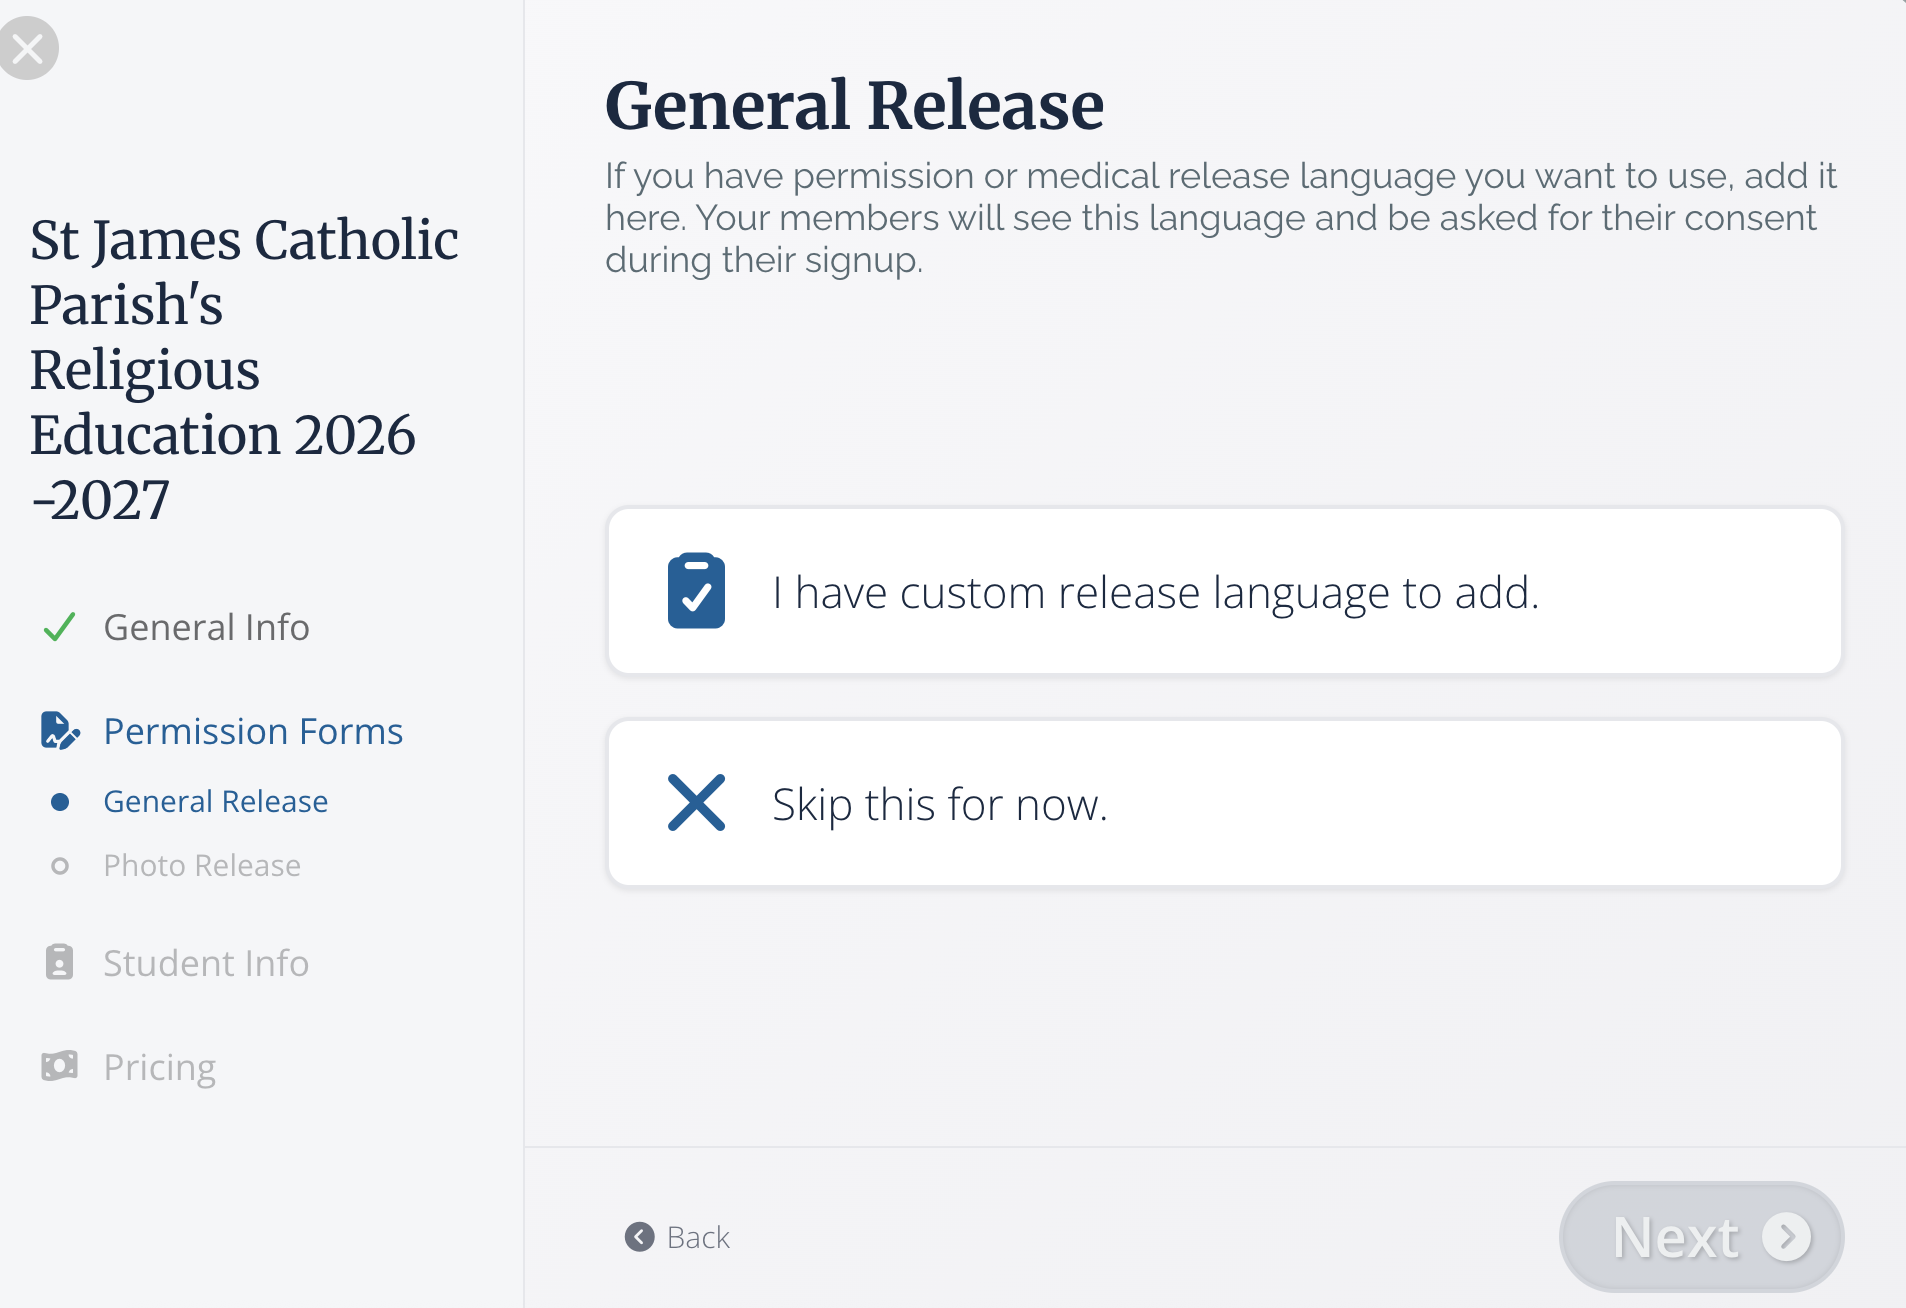
If you select I have custom release language a text box will pop up. Don't worry, we've made these text boxes extra large so that you can include all the needed information. You can bold and italicize the text as well as add links using the panel on the bottom right of the text box.
If you'd like to remove the release info, simply click Remove Release at the bottom left of the text box. Once you've added all the needed information, click Next.
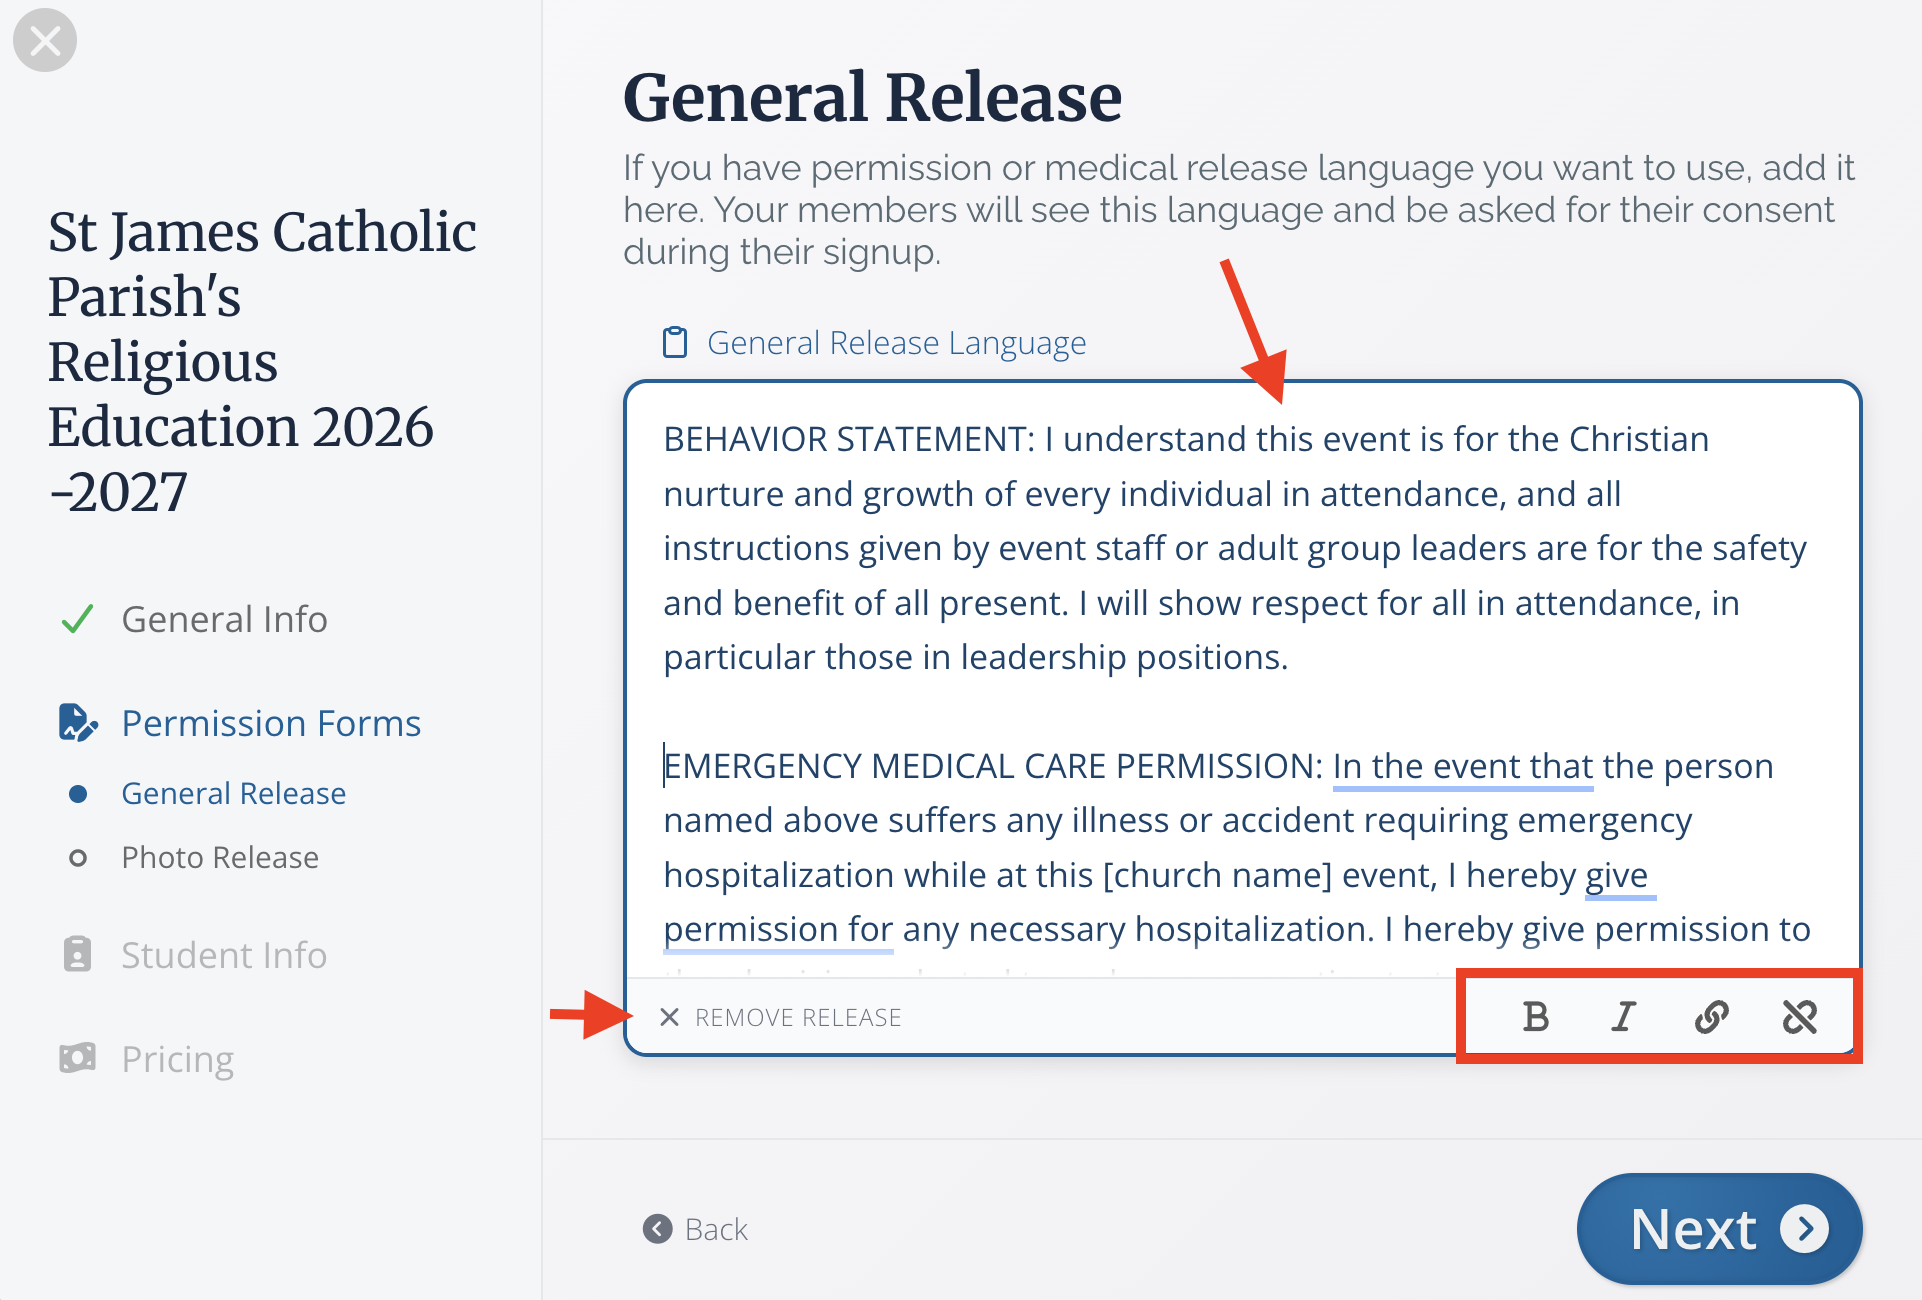
Photo Release
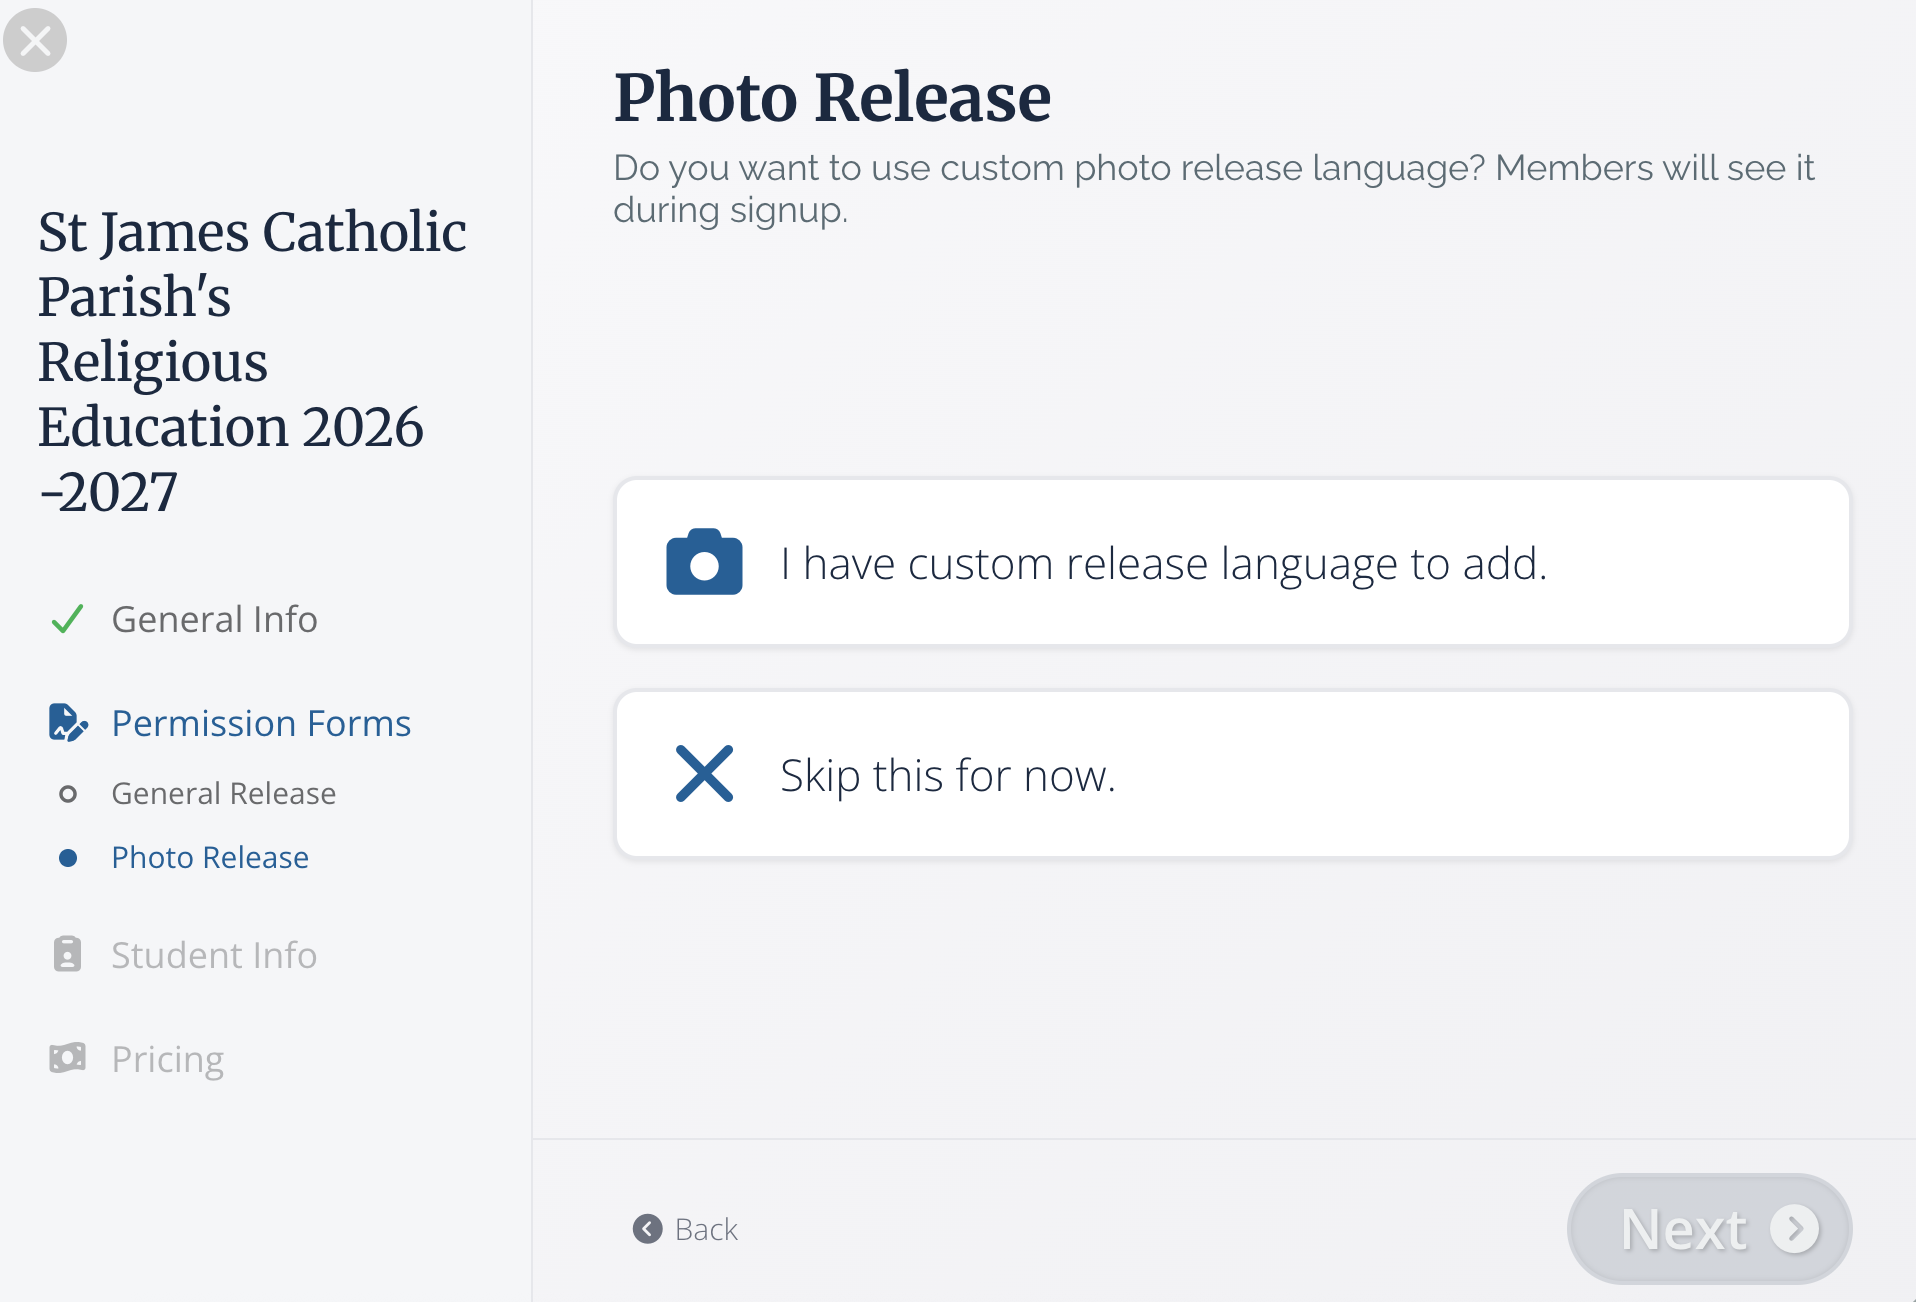
If you have a photo or media release statement, select, I have custom release language to add. Similar to the general release, a text box will appear for you to add the needed information. If you do not have a photo release to include, click skip this for now.
General Info
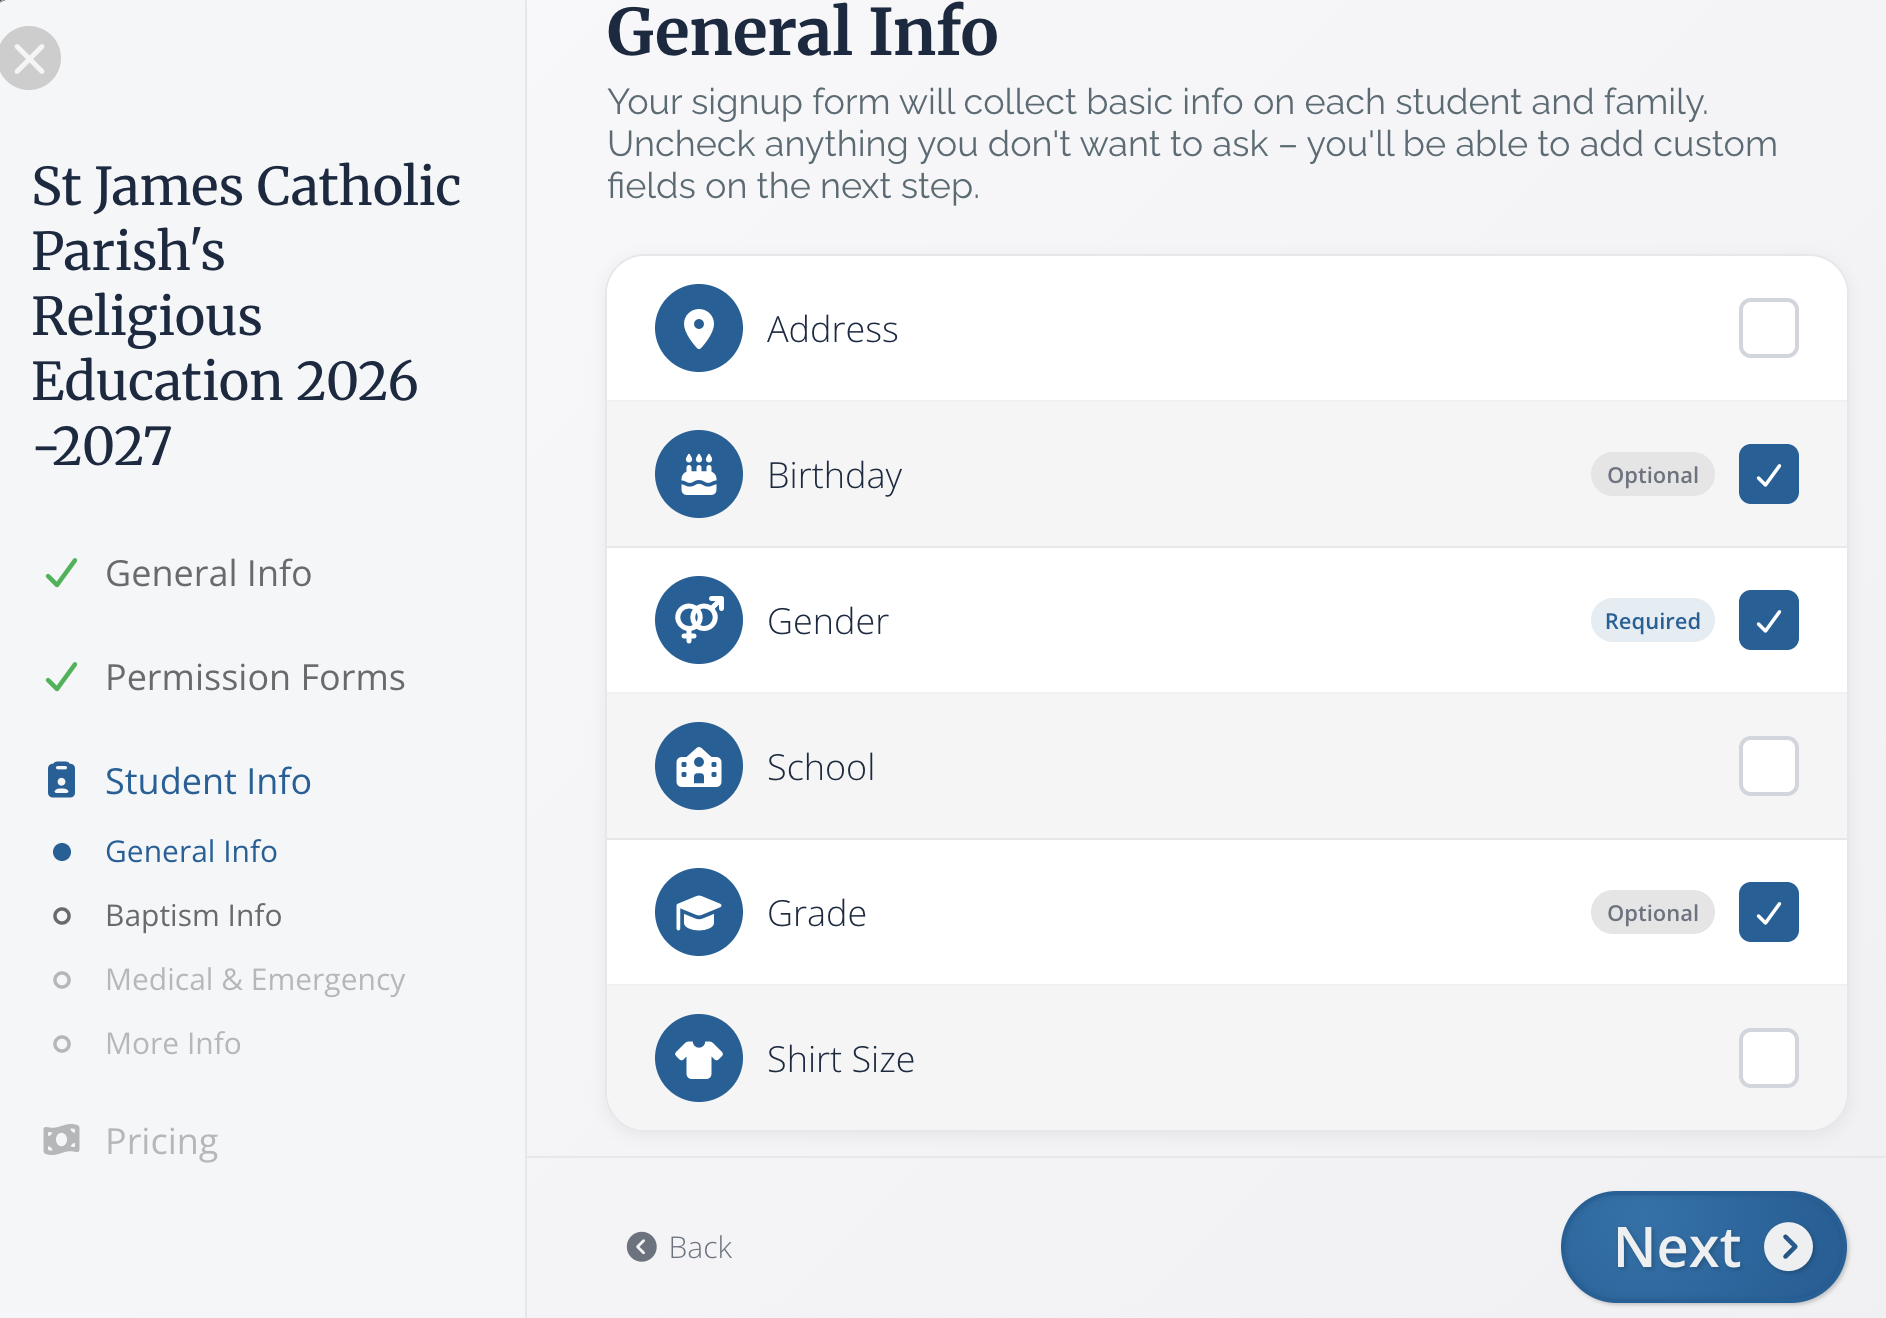
This information will be asked of both the students who are registering and their parents. Not seeing the field you need? Don't worry, you will have the opportunity to add additional custom fields later.
We've provided some of the most common fields for you to choose to include on your registration here. Again, these questions will be asked of both your students and other family members.
To remove a field from your registration, deselect the check box to the right of the field title. Notice that some of these fields are marked as required and others are marked optional. To change a field from optional to required, simply click on the word "optional" to toggle it to "required" and vice versa. Once you've added any family fields you'd like, select Next.
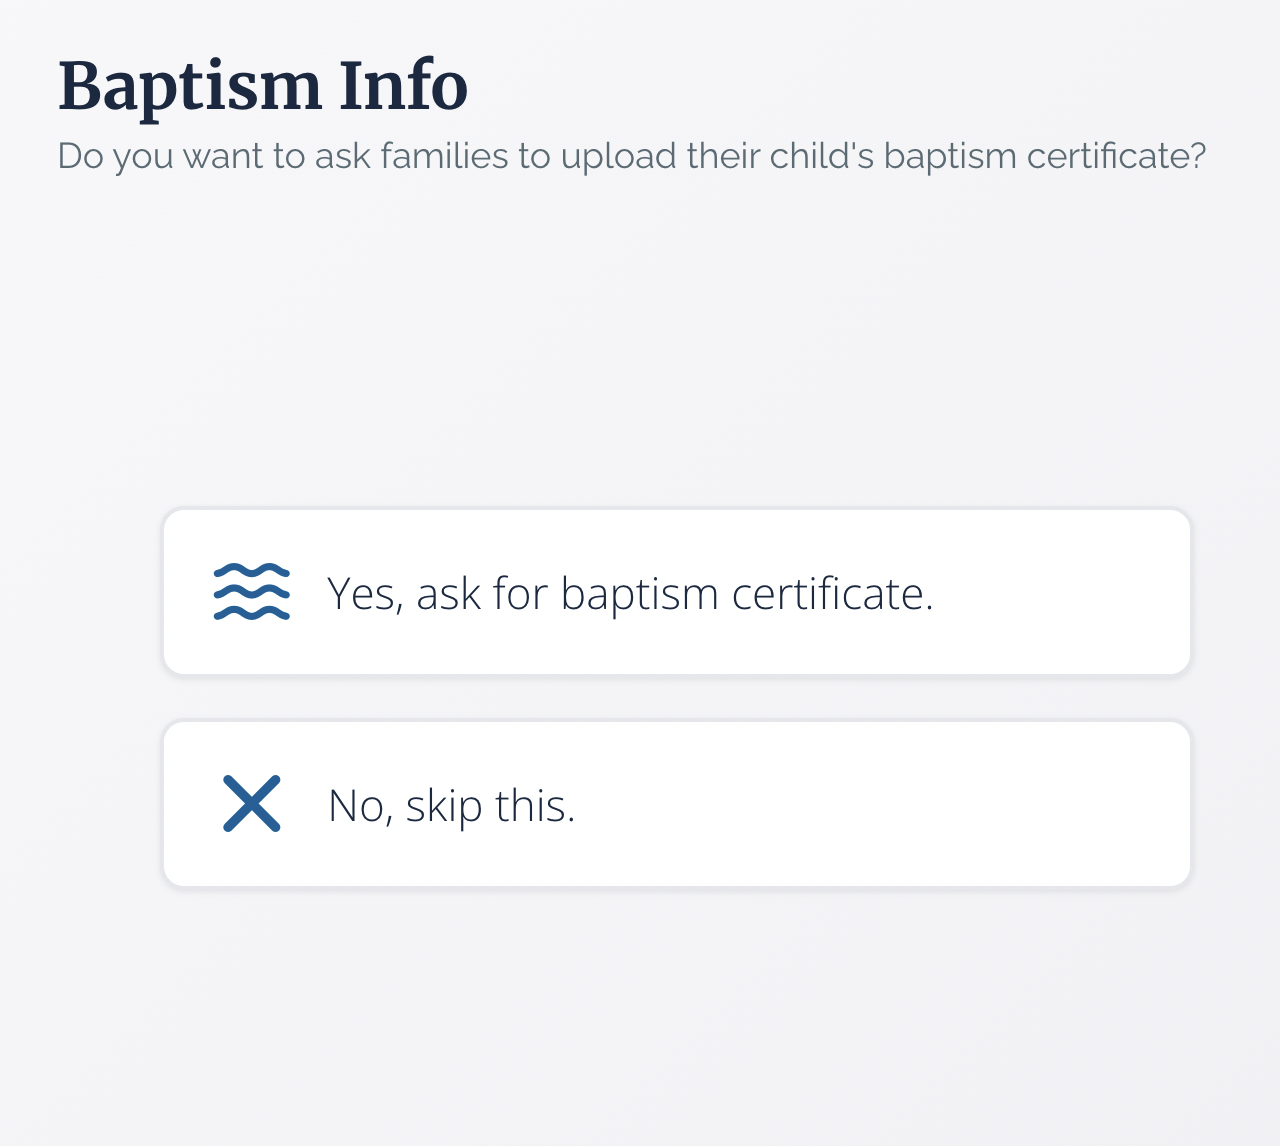
Baptism Info
Many programs need to collect Baptism information. If this applies to your program, select Yes, ask about Baptism. If not, select No, skip this.
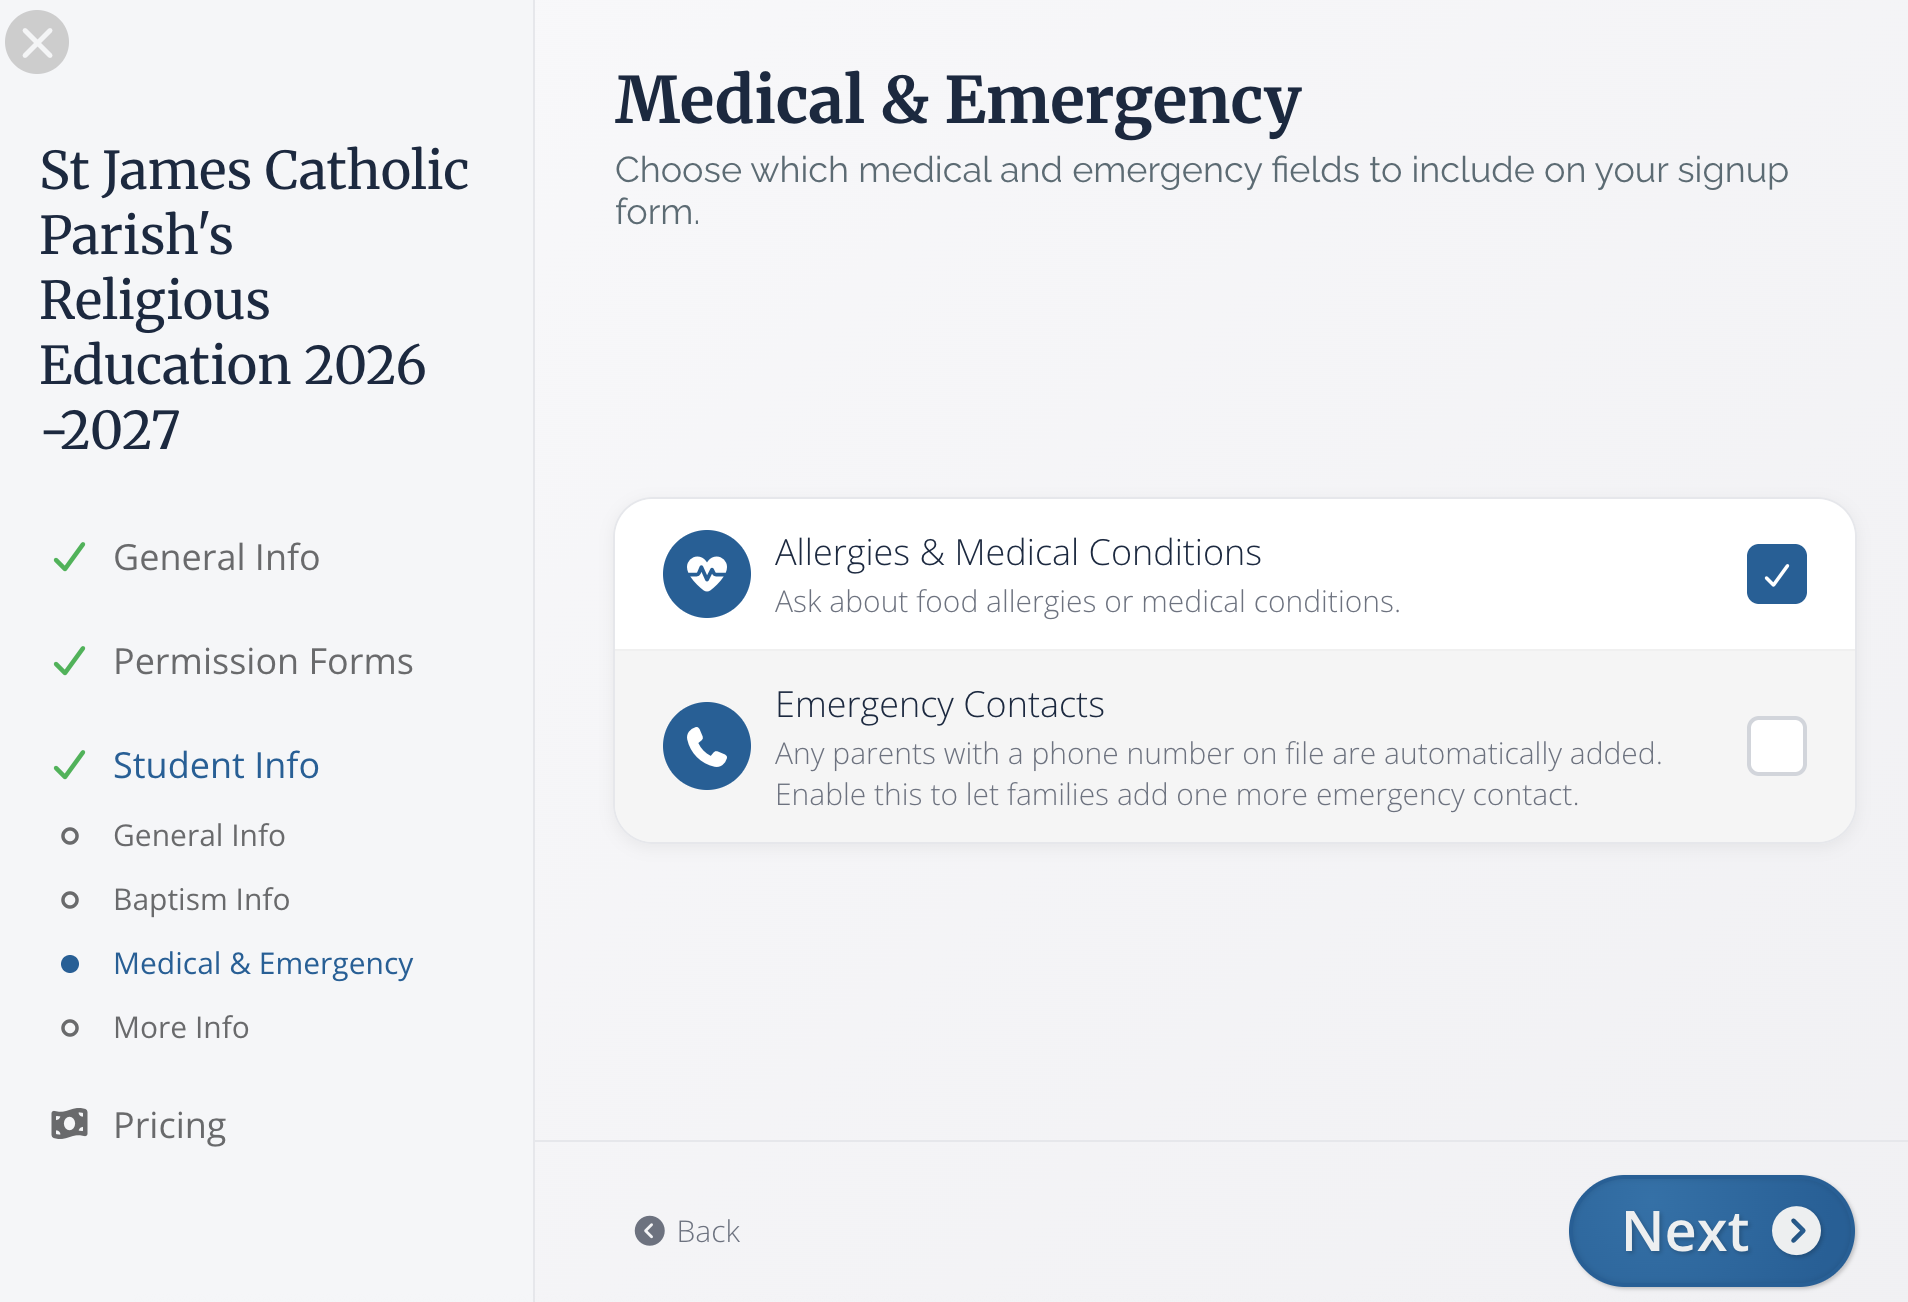
Medical & Emergency
Since Medical and Emergency information can be important to running a safe program, we've created a special section to collect this info so that you make sure you get all of the critical information you need.
If your program does not require either of these, feel free to uncheck the box to the right of the field name. Then, click Next.
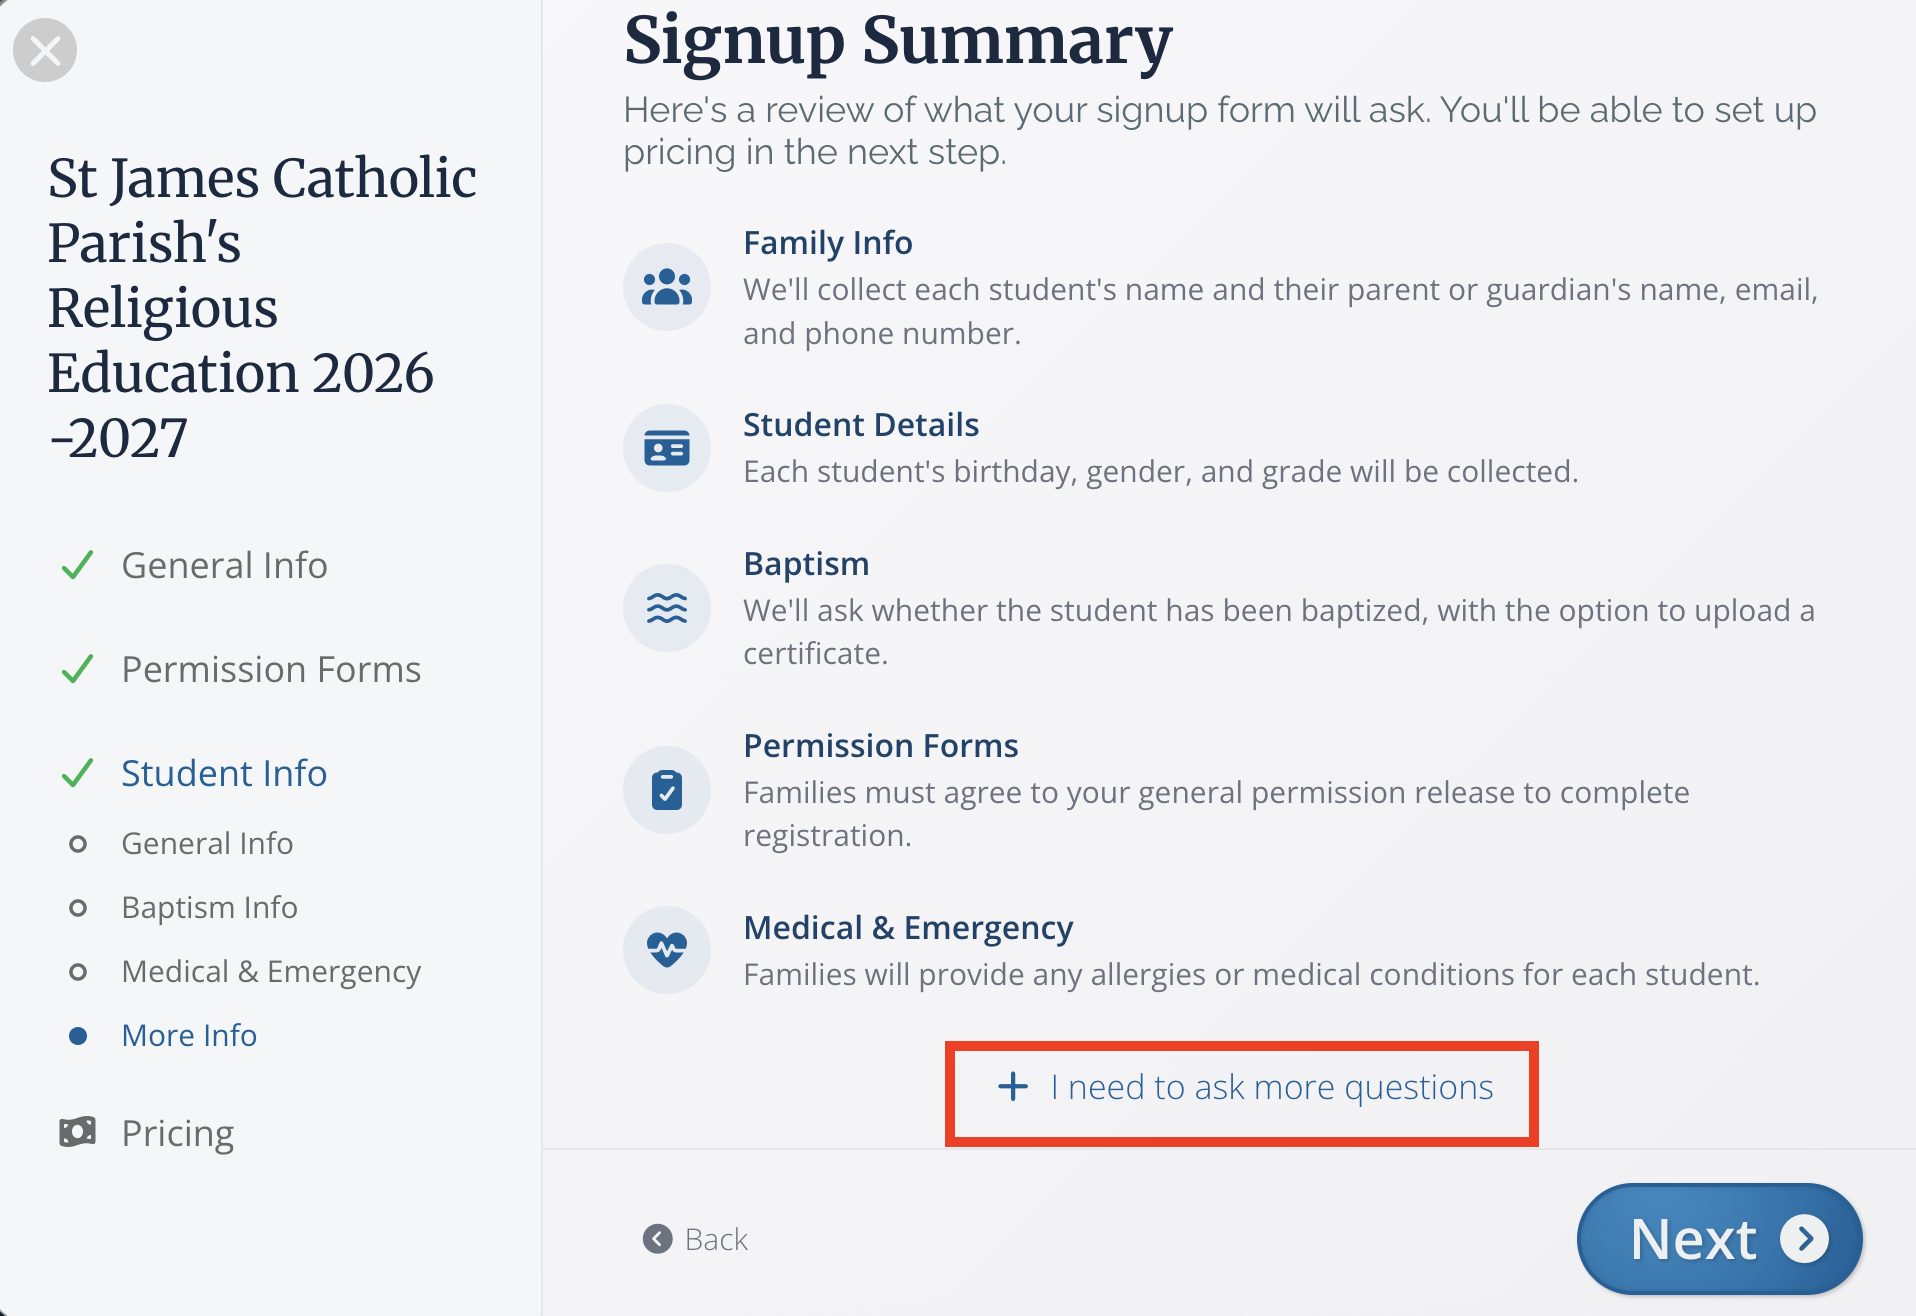
Signup Summary
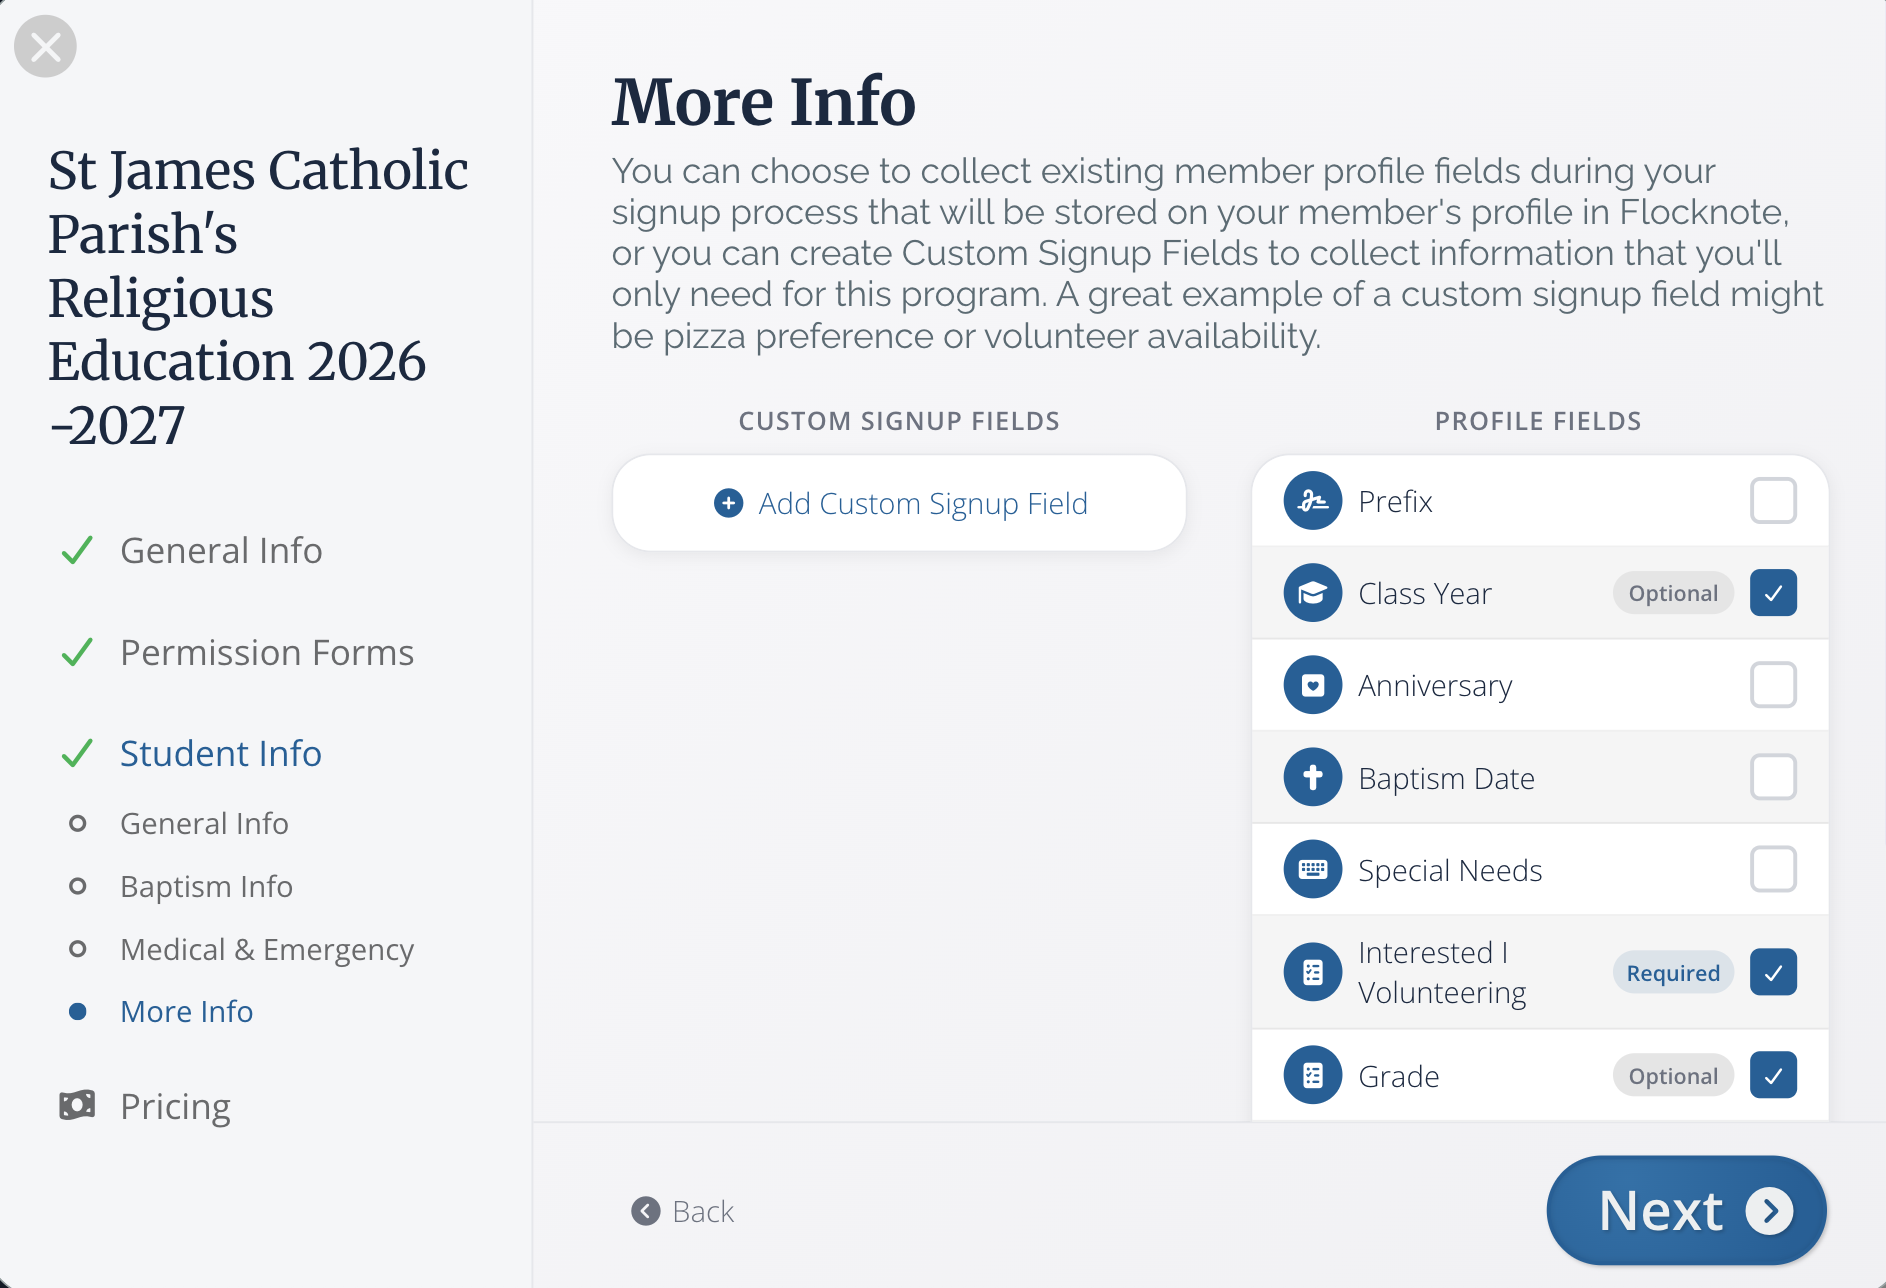
Consider this page a progress report! It will show you all the information that is on your Registration thus far. If there is any additional information you'd like to collect, click + I need to ask more questions.
This will take you to a field creator. Existing Profile Fields on your network are shown on the right-hand side. (Profile fields are stored primarily on your members' profiles.) To add one of these fields to your Registration, click the box to add a check mark. If a field is marked optional, feel free to click on the "optional" word to toggle it to required or vice versa.
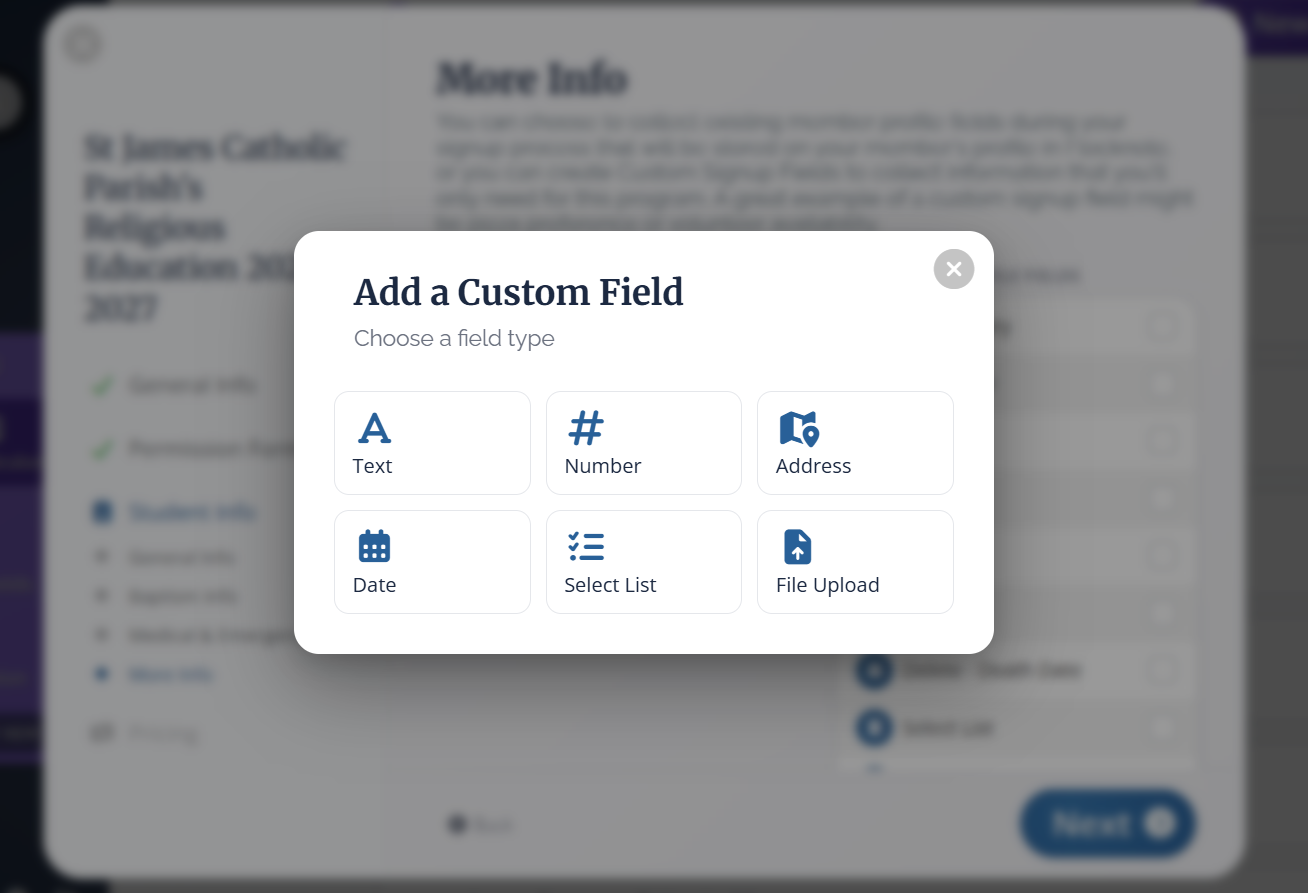
On the left-hand side, you can click + Add Custom Signup Field. From there, you can create the perfect field from scratch. Please note that these fields are not stored permanently on member profiles but will appear on your Respondent Data for this registration flow. Not sure how to finalize this step? Feel free to reach out to us at help@flocknote.com. Once you've added the fields you need, click Next to return to the Signup Summary page.
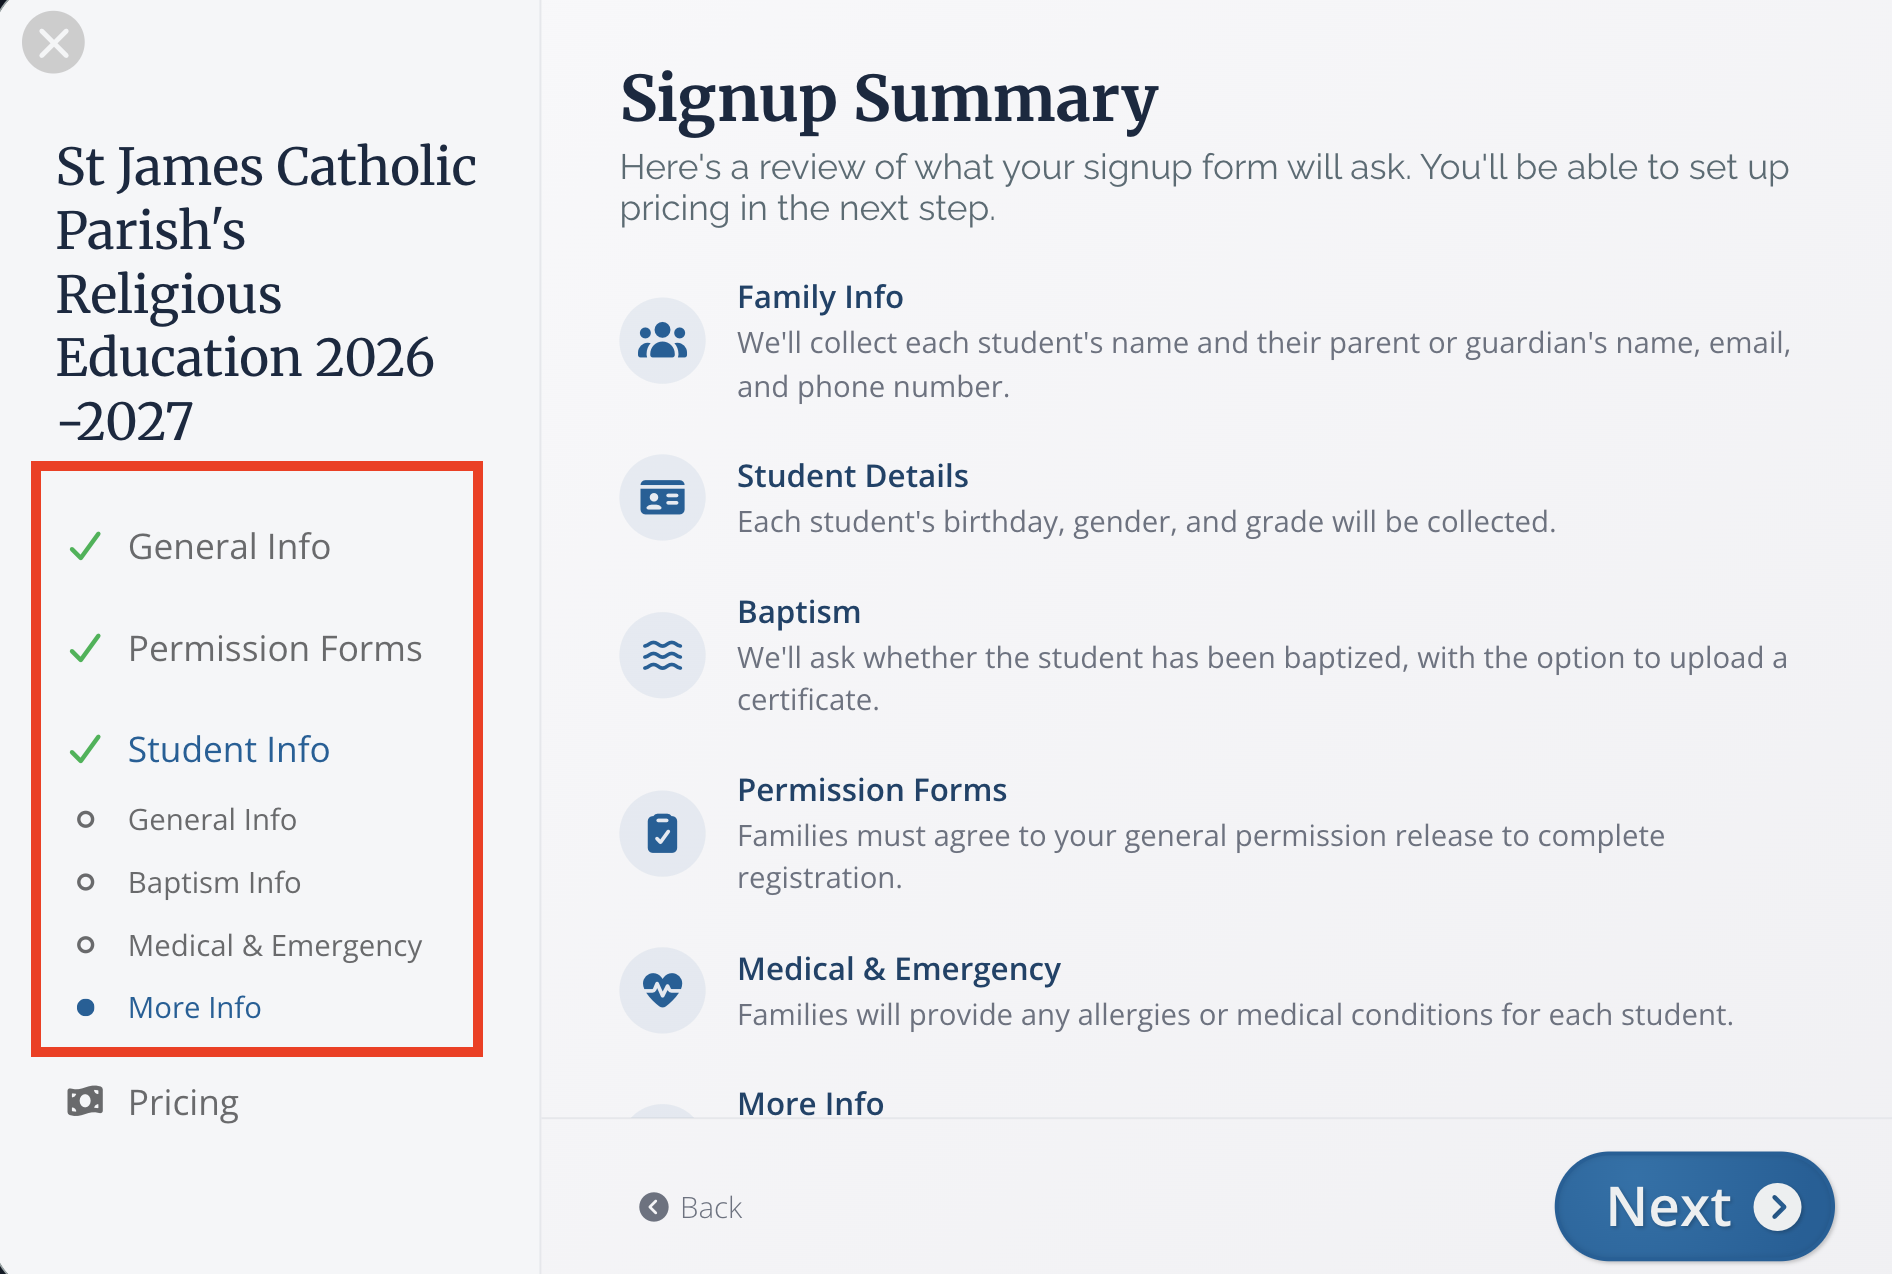
Signup Summary
Review the information on this page. If anything needs to be updated, use the checklist to the left to return to other sections and make adjustments. You can also use the Back button to navigate through the sections you've already created. If everything is looking good, click Next to set up your pricing.
Pricing
We've expanded the options available for Religious Education pricing! Now you can add in fees for particular classes, book or supplies fees, and so much more. 🎉
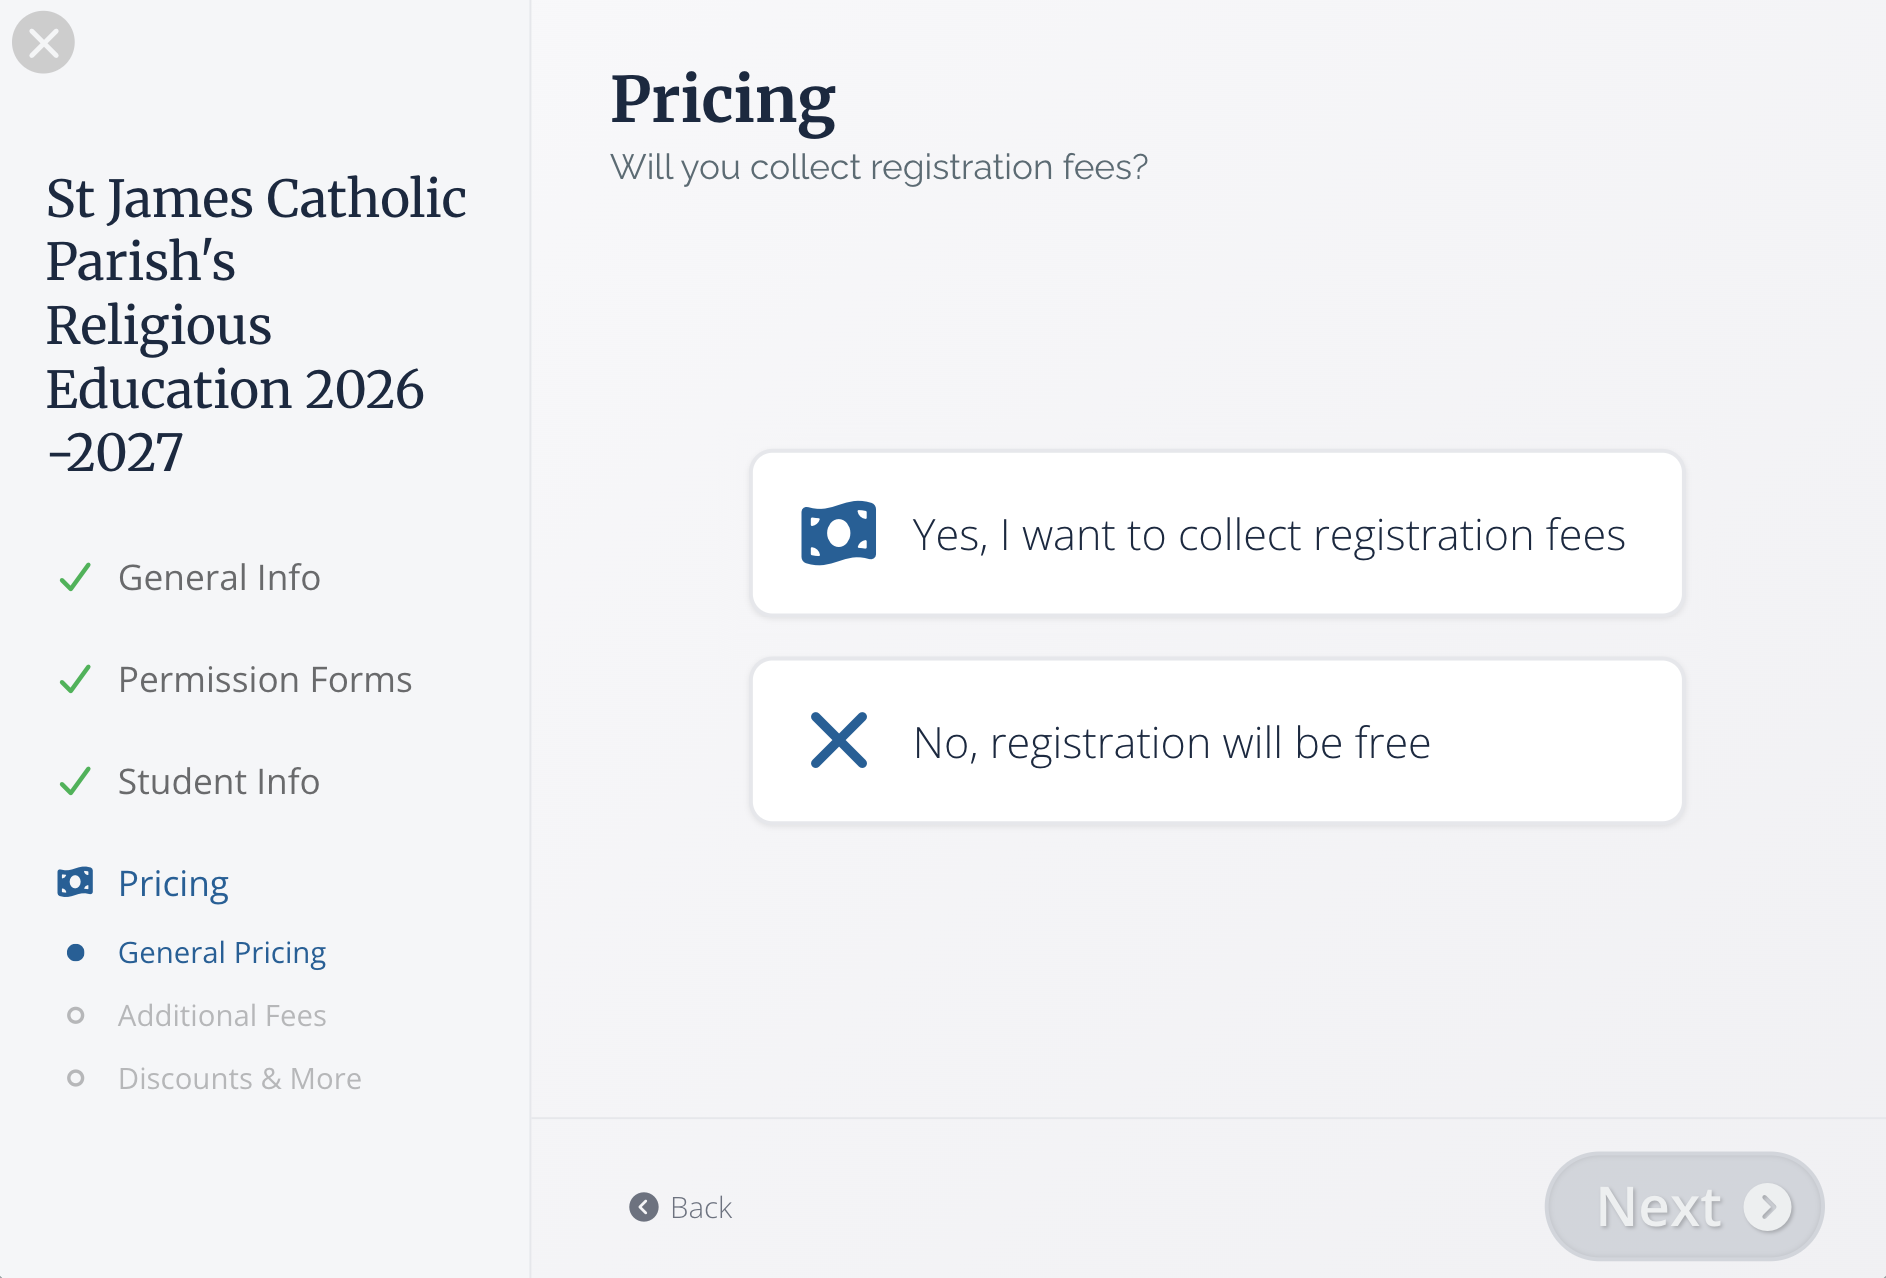
General Pricing
If you don't collect fees, select No, registration will be free to advance and finalize your Registration flow. If you haven't set up online giving through Flocknote just yet, you can get started to make your RE Registration even easier by collecting fees right inside Flocknote. Best of all, it's FREE for all Flocknote plans. All you need to get started is a driver's license, an EIN, and a few minutes. Click HERE to learn more and save hours!
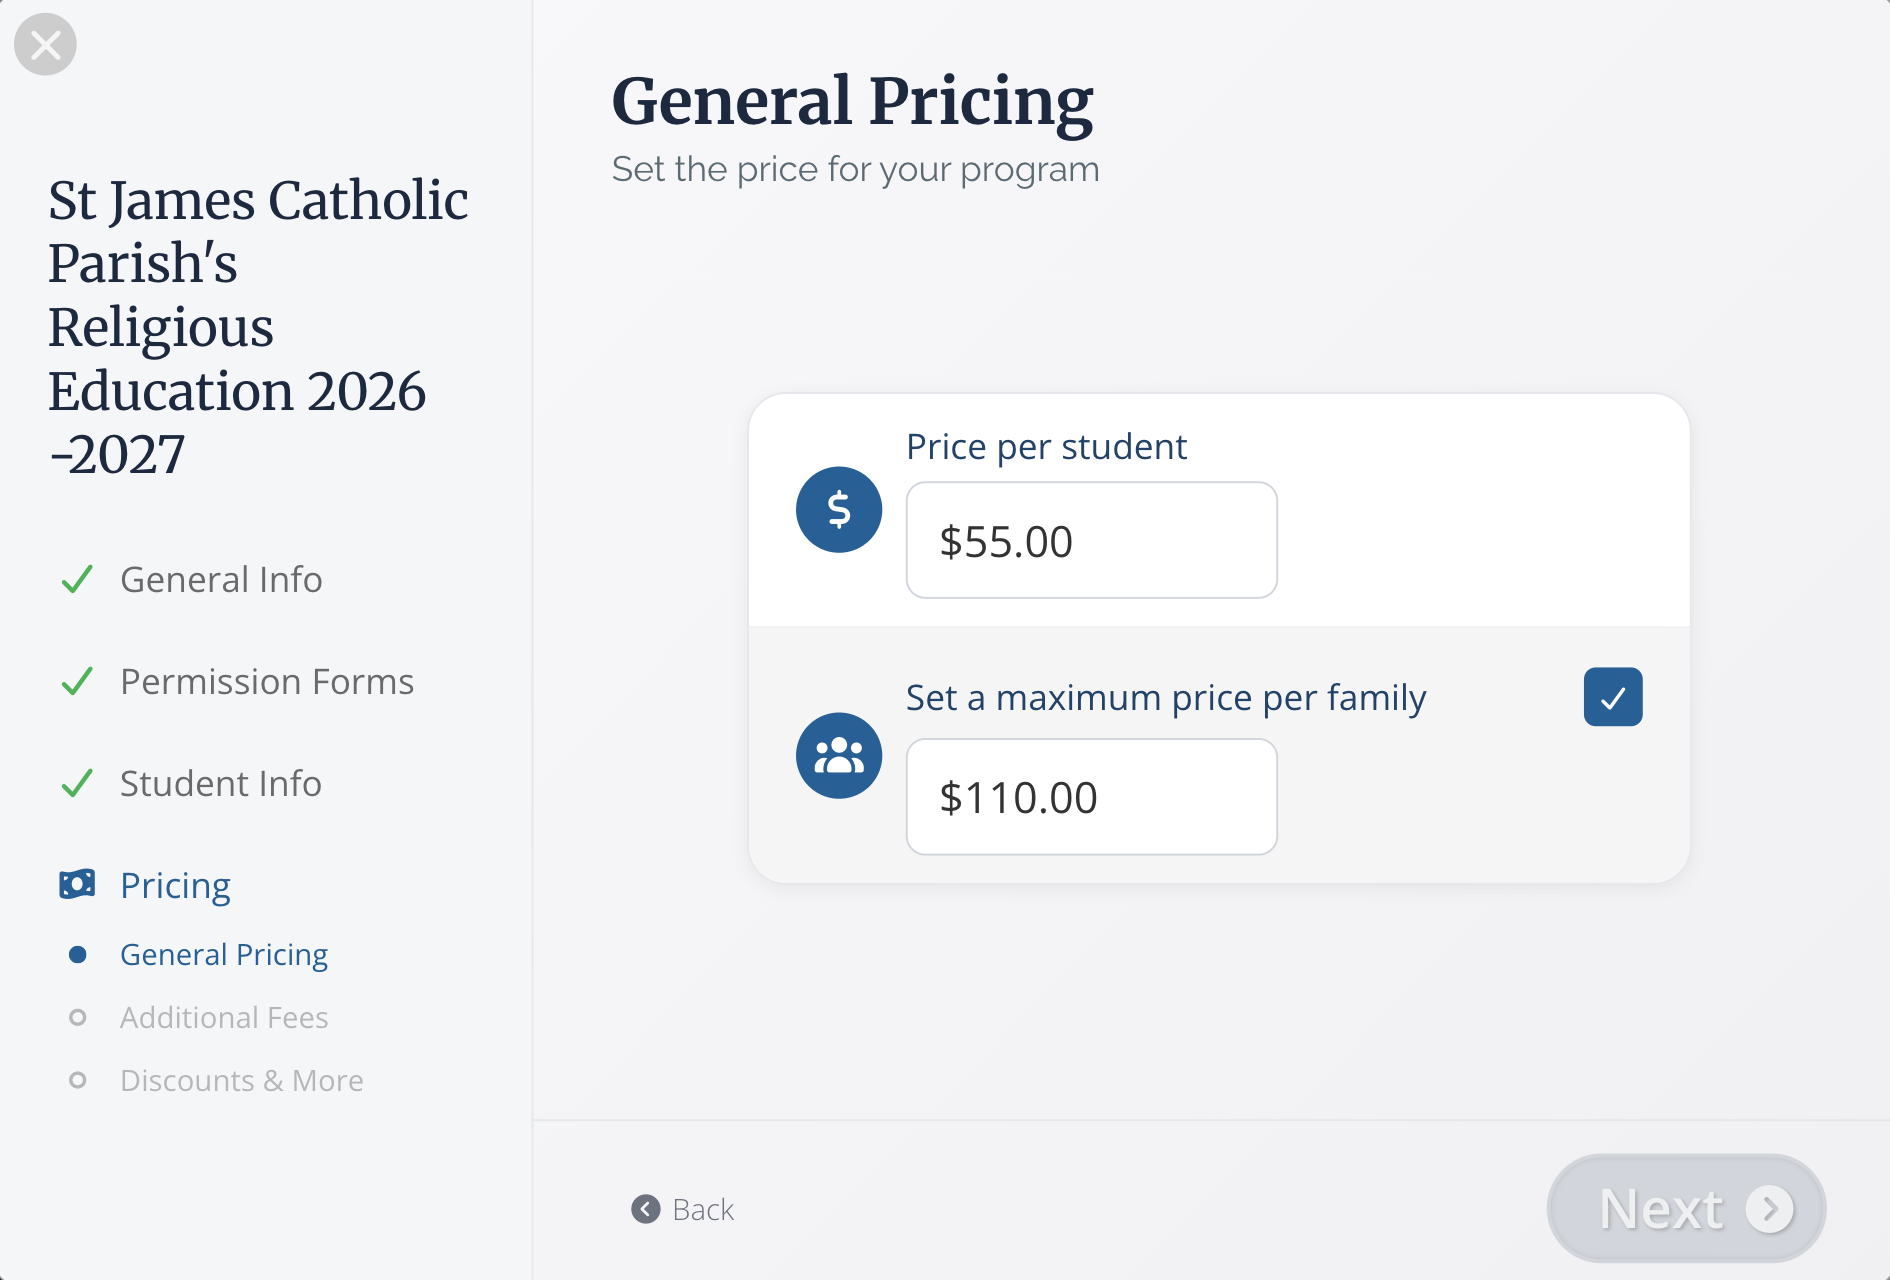
If you are collecting fees, select Yes, I want to collect registration fees.
First, select a price per student! If there is a maximum amount a single family can pay, be sure to add that by selecting the Set a maximum price per family box and adding an amount. In this case, each student pays $55.00, and the max a family would need to pay is $110
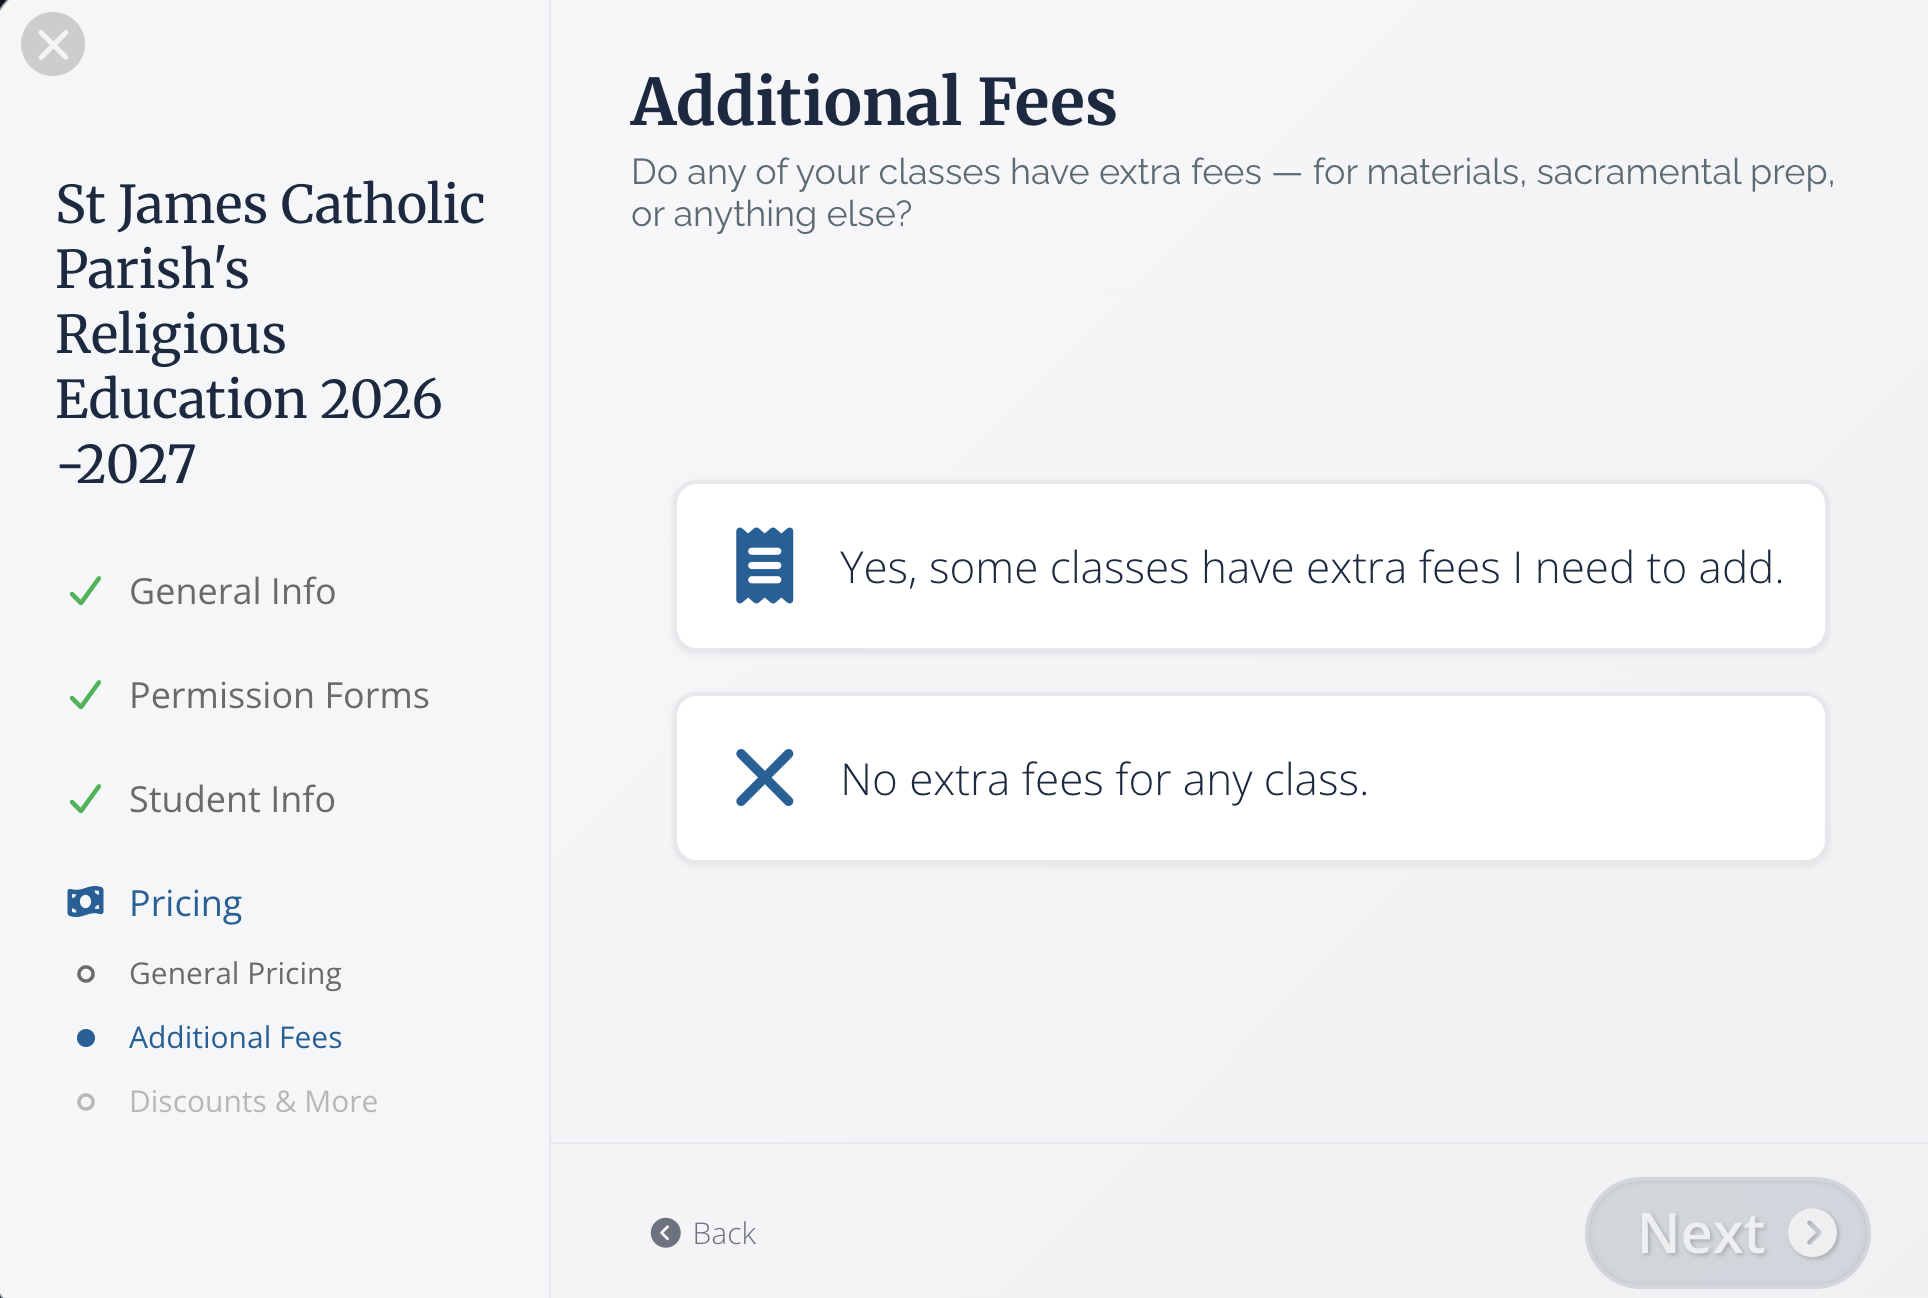
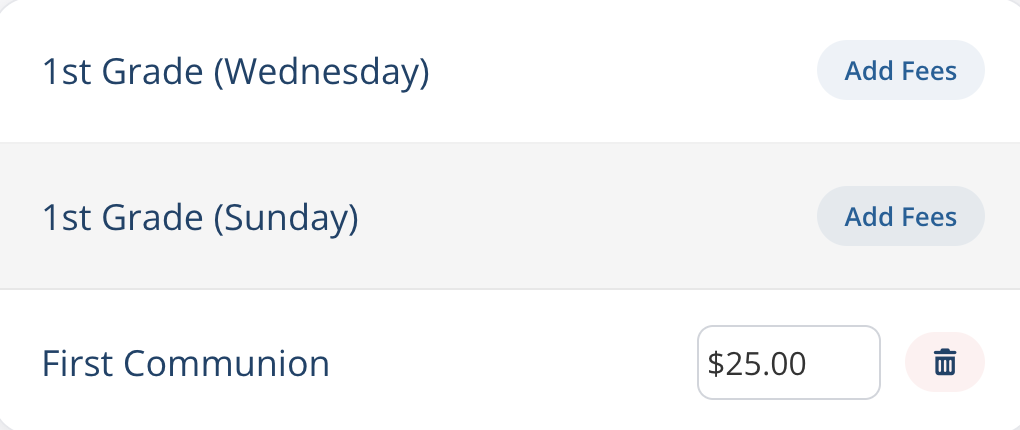
Additional Fees
If your program requires additional fees, such as book/supply fees, field trip fees, etc, you can add those here. In this example, there is an additional $25 fee for First Communion to cover the cost of a workbook, so I've included that below.
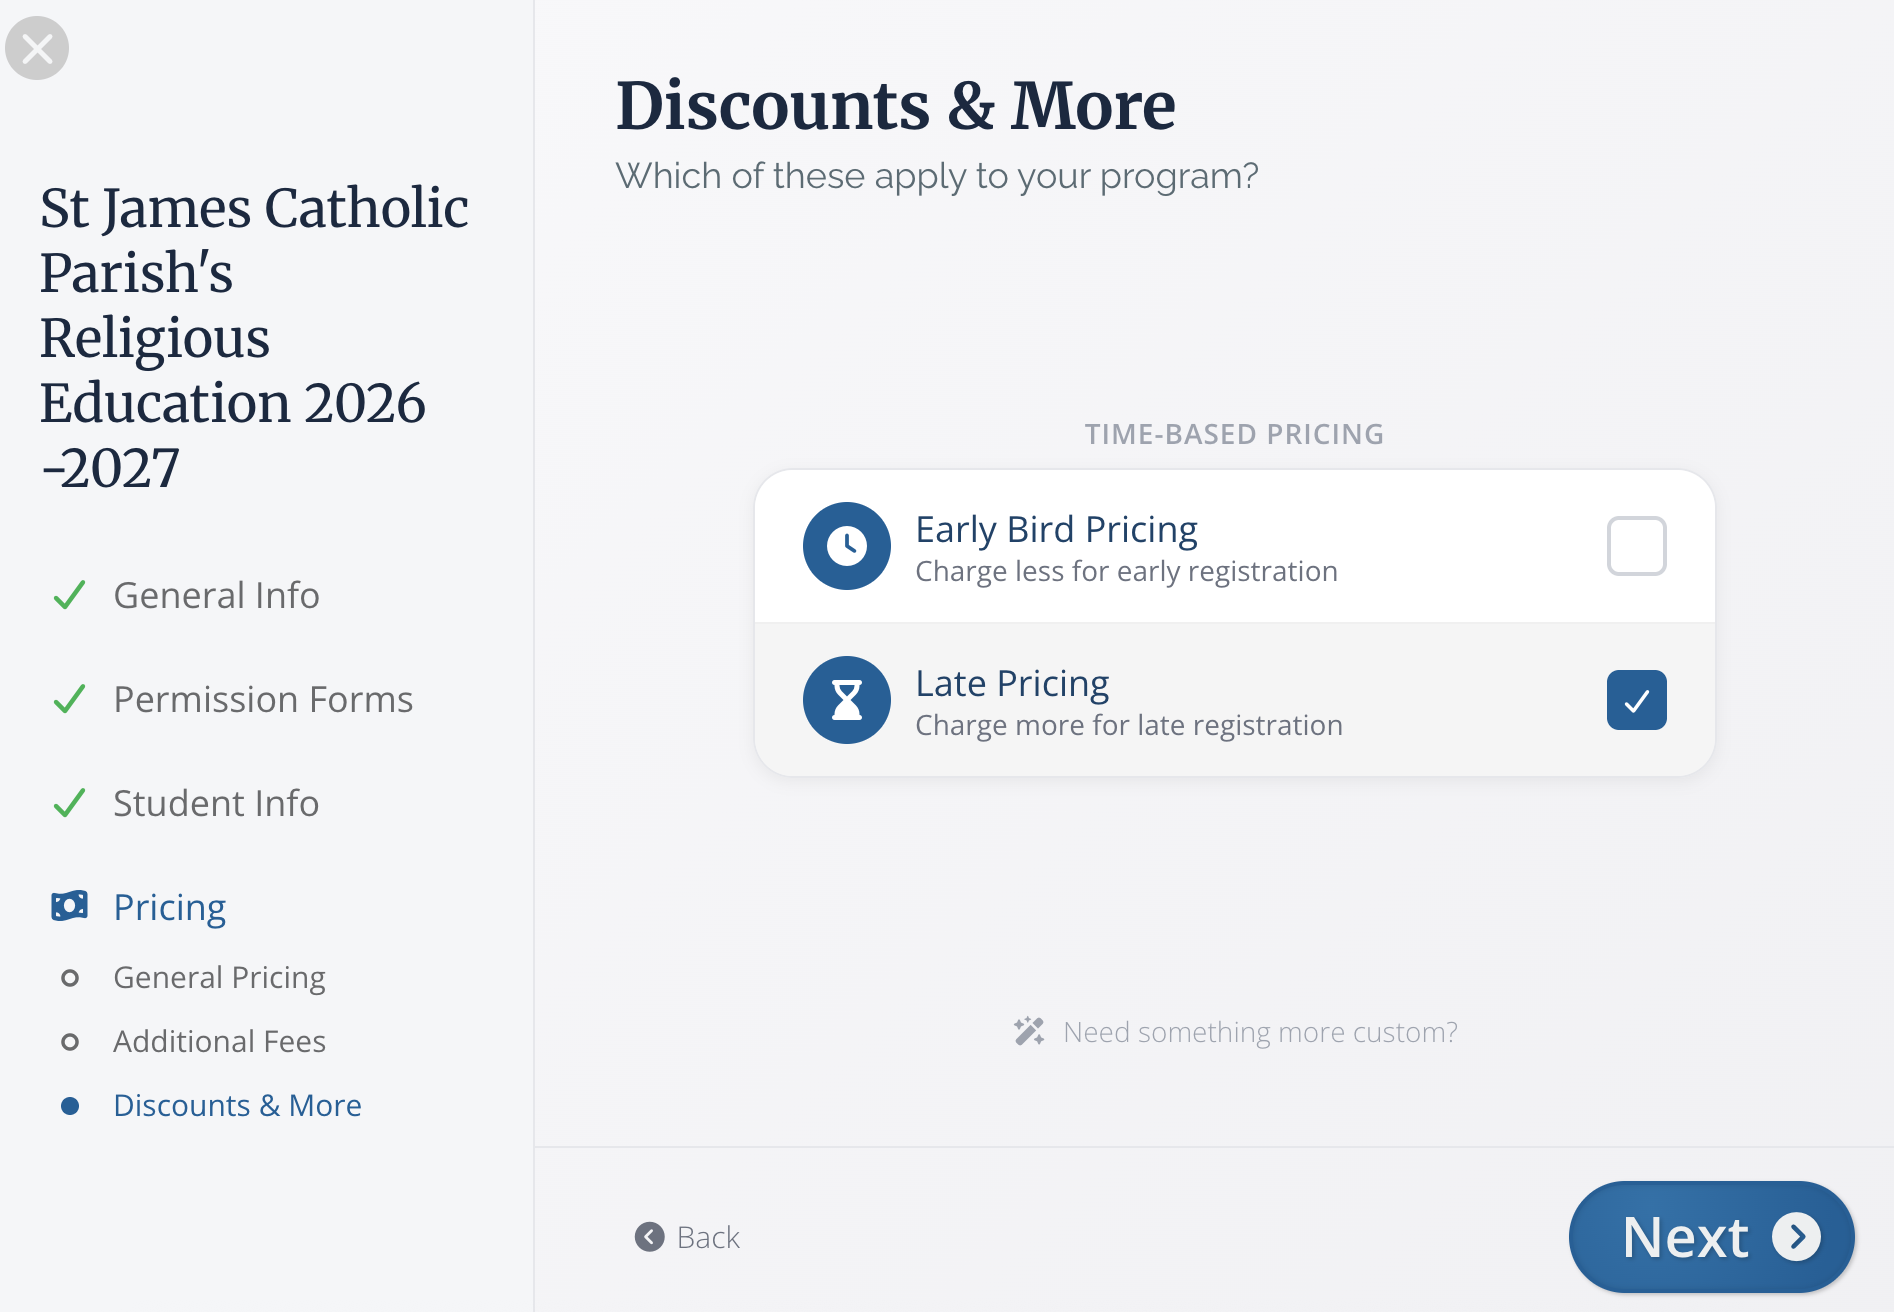
Discounts and More
We also offer the ability to have early bird and late pricing for your registration flow. If either of these applies to you, select the check mark and click Next to customize these pay structures. Check out the example below for more details.
If you need a pricing structure that is not shown here, be sure to click the Need something more custom? button at the bottom of this page. That will connect you with our team of Happiness Engineers for more details.
In this example, my regular pricing is $55 per student. For a late fee, each student will pay $61, but each family will pay no more than $122. To advance to the final step of the setup process, click Next.

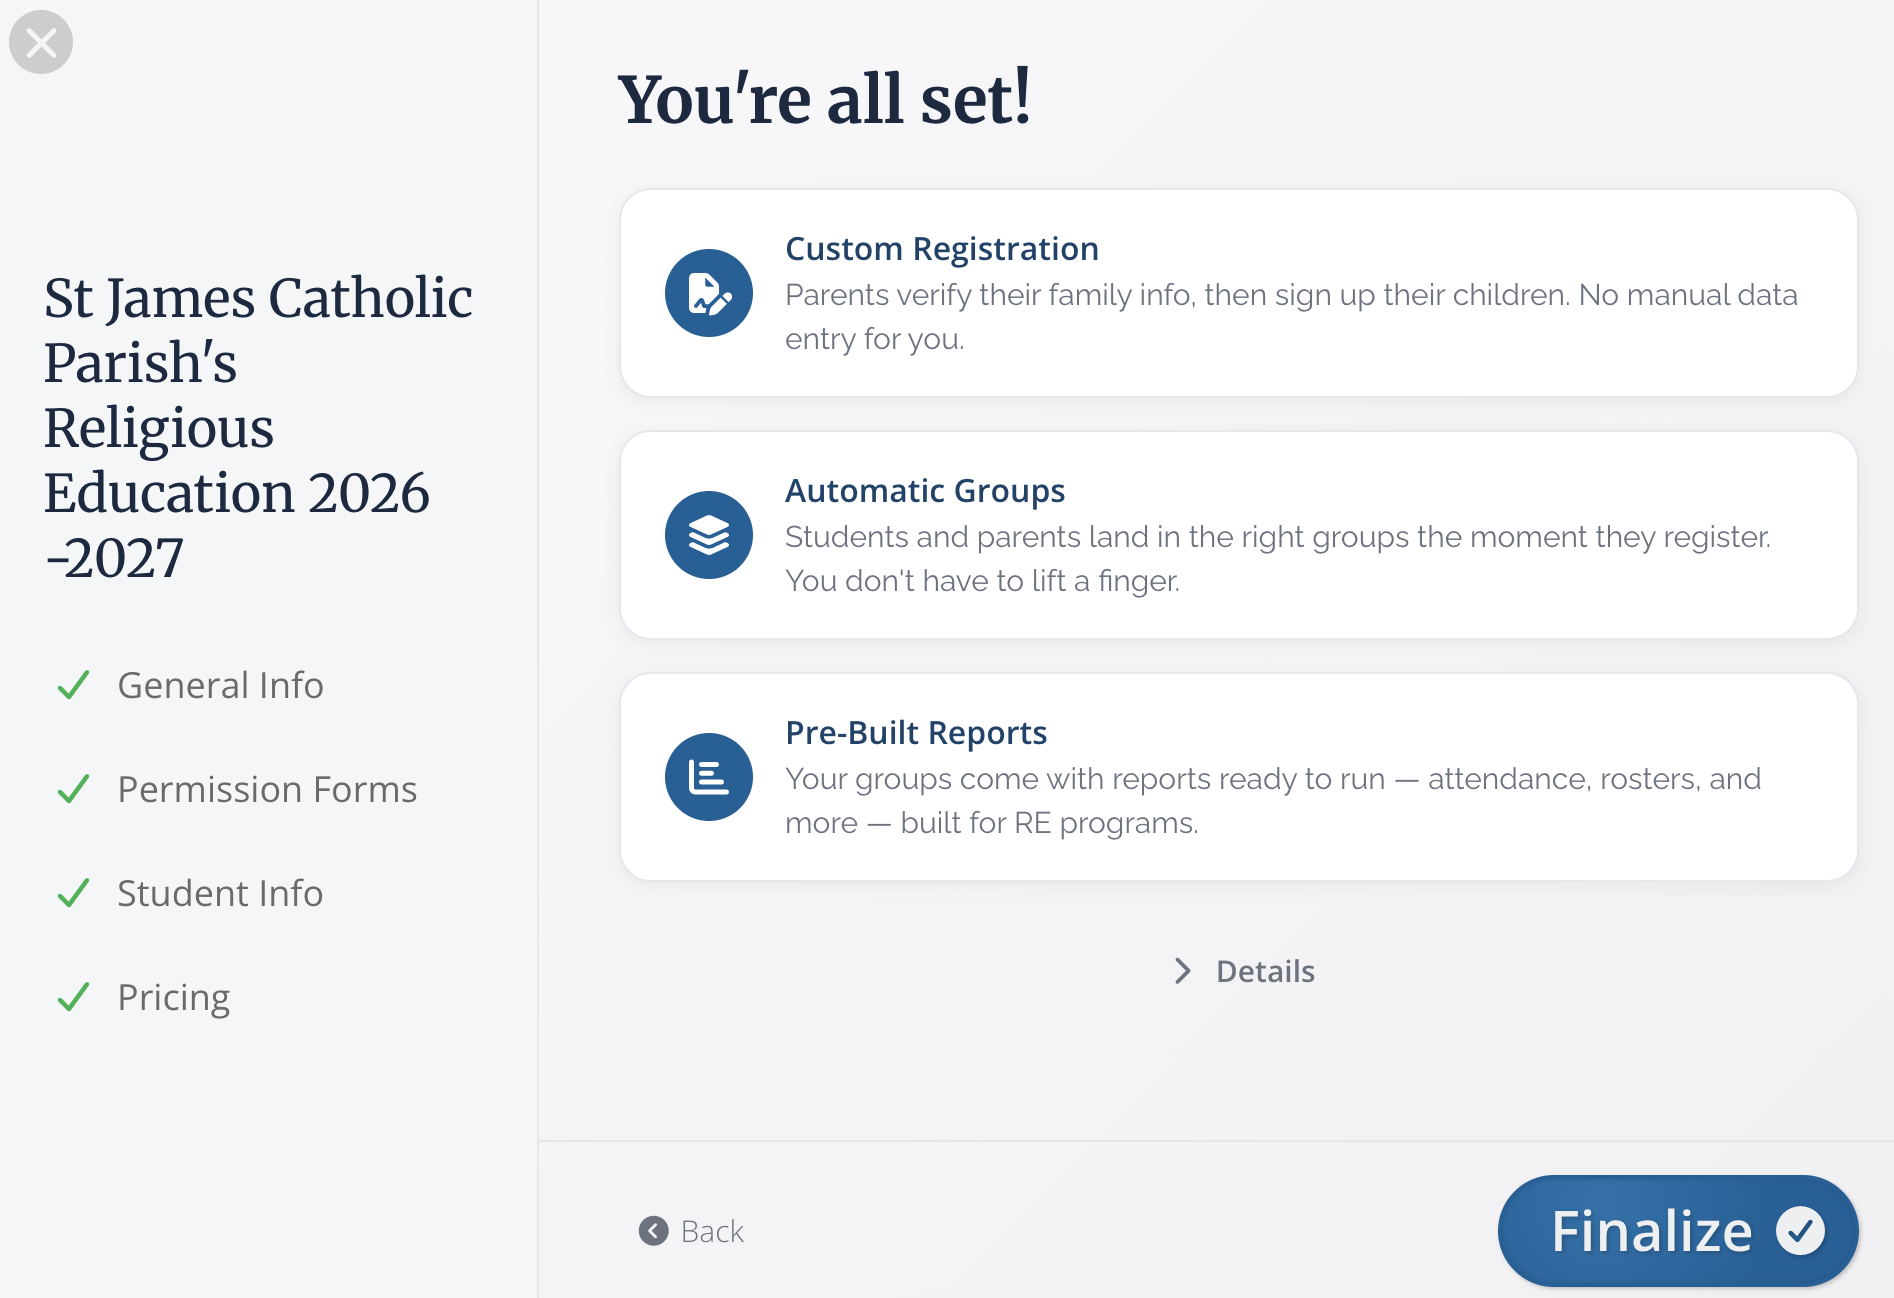
You're all set!
Last but not least, we'll show a quick summary of the setup. If everything is ready to go, click Finalize!
Just like that, you've set up your entire Religious Education Registration for the year 🎉 Congratulations on a job well done!
Other Tools
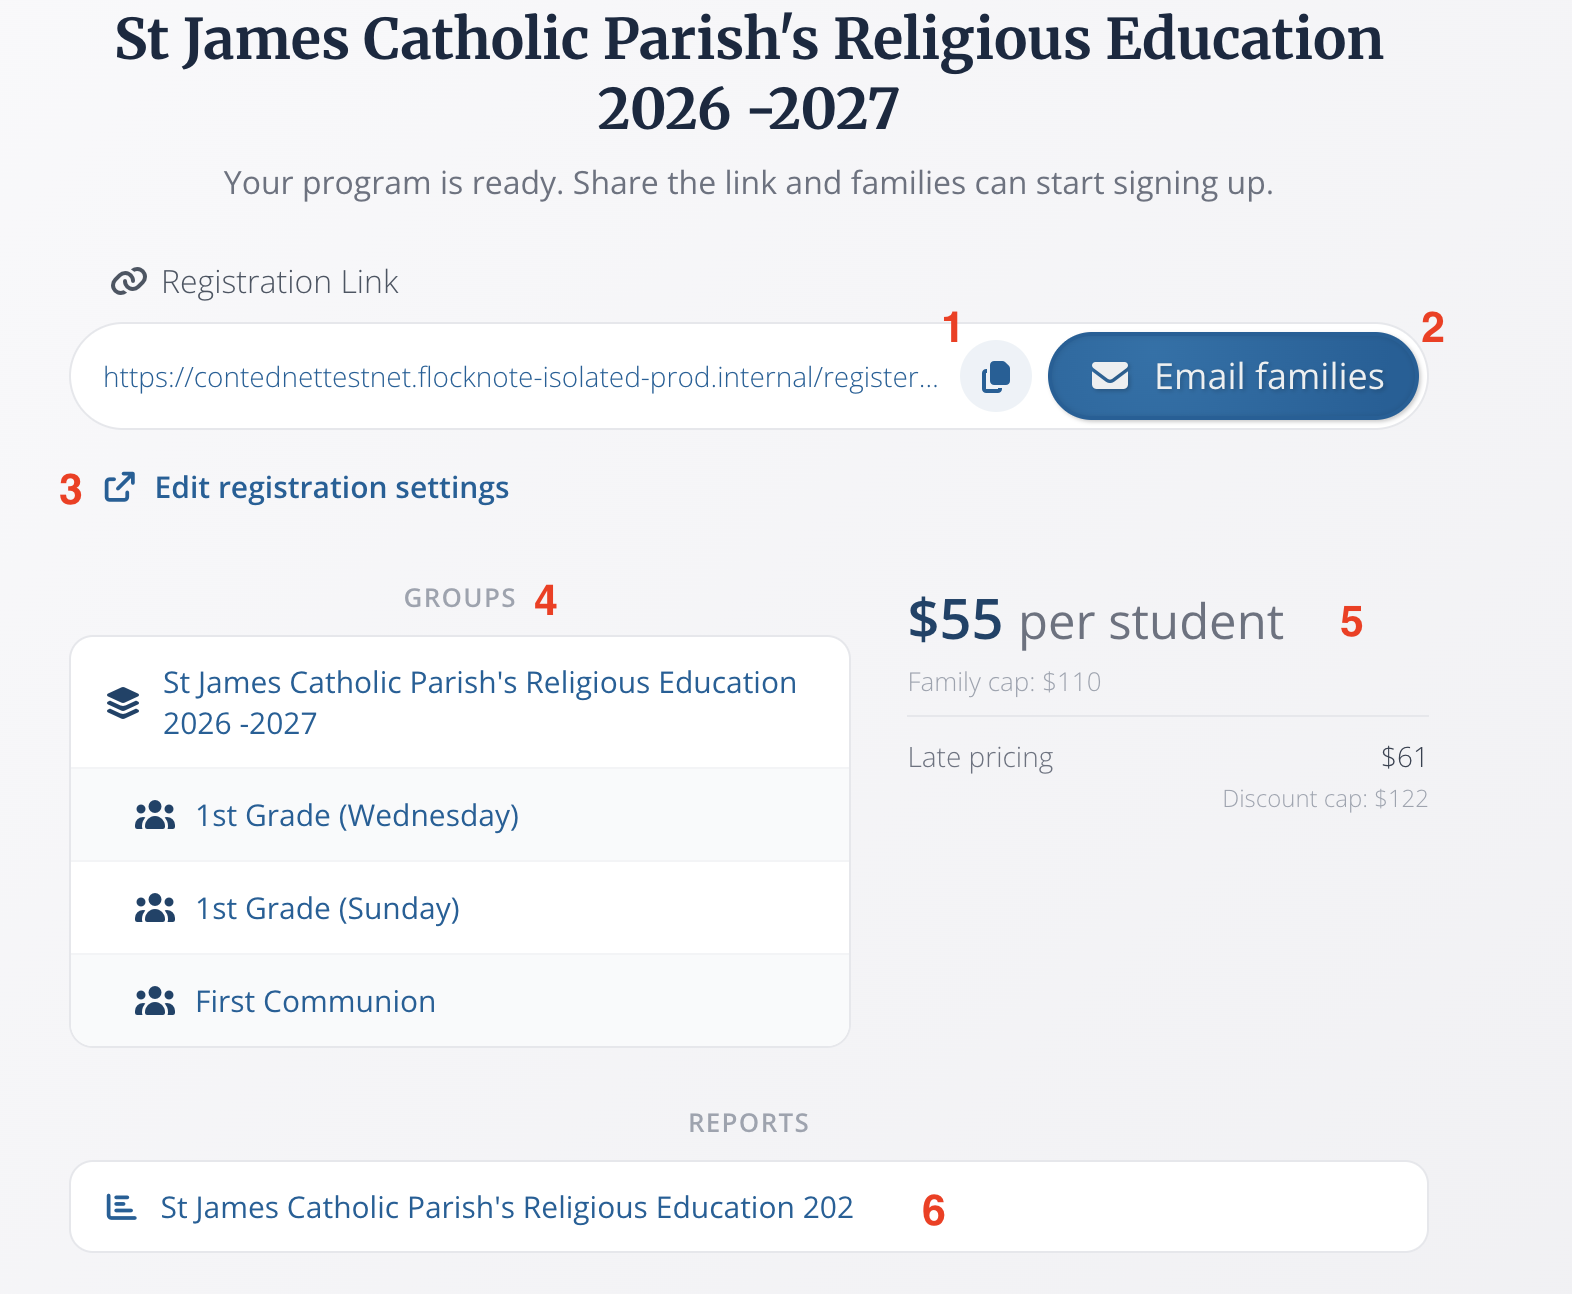
We didn't stop at making a simple registration setup; we've also included a handful of helpful tools to make running your program this year even more efficient! Check out these tools below.
- Registration Link: Share this link in a message, on your website, or on social media to prompt your parishioners to register for Religious Education.
- Quick Email Button: This button will open up an email that includes a smart button to your Registration Flow. Use this to quickly send out an announcement about RE registration to your parishioners.
- Edit: Forget something? Use this button to make edits to your registration setup.
- Groups: We'll automatically create a top-level group for anyone who signs up for your Religious Education program and mid-level groups underneath it for each specific class. This will help you to easily communicate with your program as a whole and each class as needed.
- Pricing: This shows a summary of the cost for your program.
- Attendence Report: Need to take attendance? We've already created the basics of a report for you to use to keep track of who is attending classes! Learn more about creating reports HERE.
Just like that, you are ready to run an amazing Religious Education program 🙏
What will my members see?
Click ➡️ HERE ⬅️ to watch the member registration process step by step!
If you have any questions or need help getting things set up, feel free to reach out to us at help@flocknote.com.